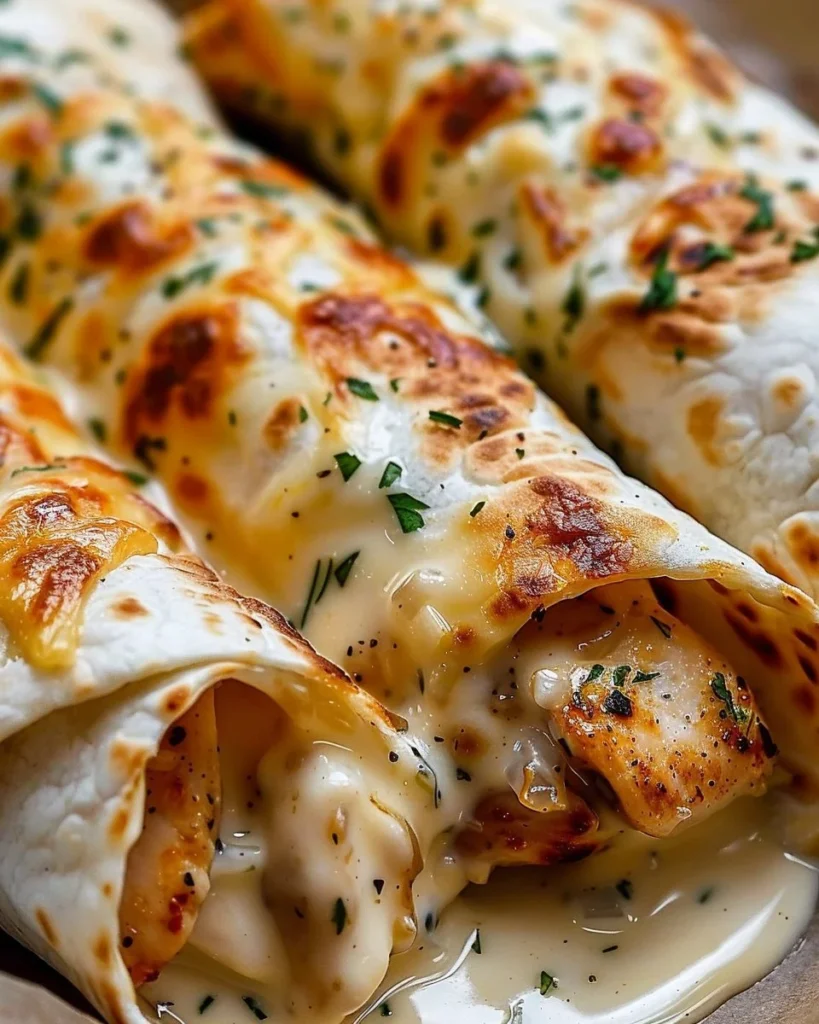
Ooey-Gooey Cheesy Garlic Chicken Wraps: A Comfort Food Craving Soothed
The first time I tried to make these cheesy garlic chicken wraps, I was knee-deep in a kitchen disaster of my own making. My younger self had zero clue about what I was doing, and believe me, there was more flour on my face than in the dough. I still remember the moment when my friend Lisa strolled in, took one look at my chaotic cooking scene, and said, “You know you can’t possibly mess up a wrap, right?” Oh, Lisa, you sweet summer child. After multiple failed attempts and probably some minor smoke alarms being set off, I finally figured it out. And now, this recipe is my ultimate answer whenever my family demands comfort food that won’t break the bank or cause any culinary crises. So, let me save you from that first, slightly terrifying attempt. You’ll want this recipe in your back pocket.
Why This Matters
Okay, let’s be real. Life can be more than a little hectic. Between juggling work, kids, and a sink full of dishes that seem to multiply overnight, we all need a meal that’s not just food but a warm hug wrapped in a soft tortilla. These Ooey-Gooey Cheesy Garlic Chicken Wraps hit that sweet spot. They say "I love you," without cranking the oven up to cooking-for-the-masses mode. Trust me, when everything else in life feels a bit chaotic, this dish is like the calm centre of a family whirlpool. Plus, it takes less time than you might think.
Before You Start
- If you only have frozen chicken: Don’t panic! Just top it with some extra seasoning and throw it in the oven. It might take a bit longer to cook, but it can still turn out lovely.
- The one tool that makes this infinitely easier: A non-stick skillet. I’ve tried the whole ‘normal pan’ thing, and let’s just say my wrap screamed when I peeled it off the bottom.
- What to do if your toddler starts melting down at step 3: Hand them a wooden spoon and let them ‘help’ stir—the distraction works wonders.
- The exact wine to pour while cooking this: A cheeky glass of Sauvignon Blanc pairs perfectly, but if it’s a Monday, a cup of herbal tea is my go-to.
Ingredients List
- 2 chicken breasts, diced (If I’m feeling lazy, I might just buy pre-cooked rotisserie chicken. It’s such a cheat, but hey, it works.)
- 1 tbsp olive oil (I always reach for the extra virgin stuff because why not splurge a bit?)
- 3 cloves garlic, minced (or 5 if you’re fighting off vampires/a cold/bad moods—seriously, the more garlic, the better.)
- 1 cup shredded cheese (I usually grab a mix of cheddar and mozzarella, but honestly, use whatever you have in the fridge.)
- 2 large tortillas (The bigger, the better, I say. More room for filling!)
- Salt and pepper to taste (Add a sprinkle of each while cooking to build flavour.)
- Optional: sliced jalapeños (My husband insists on these, but my kids don’t share that love—because of course they wouldn’t.)
- Optional: sour cream or ranch dressing for dipping (We’re all about that creamy goodness.)
Step-by-Step Instructions
Step 1: Heat Up Your Pan
Heat the oil in a pan over medium heat.
Why this step matters: Getting the oil nice and hot makes sure everything cooks evenly.
Common mistake here: Not waiting for the oil to heat up properly—trust me, your chicken will just sit there sulking.
My personal hack: I usually keep a pinch of flour close by; if it sizzles when I drop it in, I know it’s ready.
Anecdote: This is usually when I start belting out some terrible tune I’ve heard on the radio. My kids just roll their eyes, but I like to think it adds to the cooking ambiance.
Step 2: Cook the Chicken
Add your diced chicken to the pan, sprinkling in salt and pepper as you go.
The sensory cue: You’ll know it’s ready when it starts making that sizzley sound—oh man, I could listen to that all day.
Common mistake here: Overcrowding the pan. Seriously, don’t try to fit all the chicken in one go. You want to get that nice golden colouring on each piece.
Anecdote: The first time I rushed this bit, I ended up with a rubbery mess. My kids still talk about it. “Remember when Mommy made chicken-flavored erasers, Mum?”
Step 3: Add the Garlic
Once your chicken is cooked through—about 7-10 minutes—toss in the minced garlic.
Why this step matters: Garlic needs only a quick sauté; if you cook it too long, it’ll turn bitter.
If you’re multi-tasking: Chop up your veggies (prod your kids to help!) while the chicken is cooking. It makes it feel like less of a chore.
Anecdote: When I add the garlic, I always remember my Grandma Elle’s delight in telling me that garlic wards off evil spirits. Can we just take a moment to appreciate that? Garlic for the win!
Step 4: Add the Cheese
Now, here comes the fun part. Layer that shredded cheese on top of your garlicky chicken, cover the pan, and let it sit on low heat until everything’s wonderfully gooey.
The secret nobody tells you: It helps to give the cheese a little sprinkle of water—seriously, it steams and melts perfectly.
Anecdote: I let my daughter, Lucy, put the cheese on one time, and she thought it was the best thing ever to create ‘cheese mountains.’ So, officially, this step is now hers.
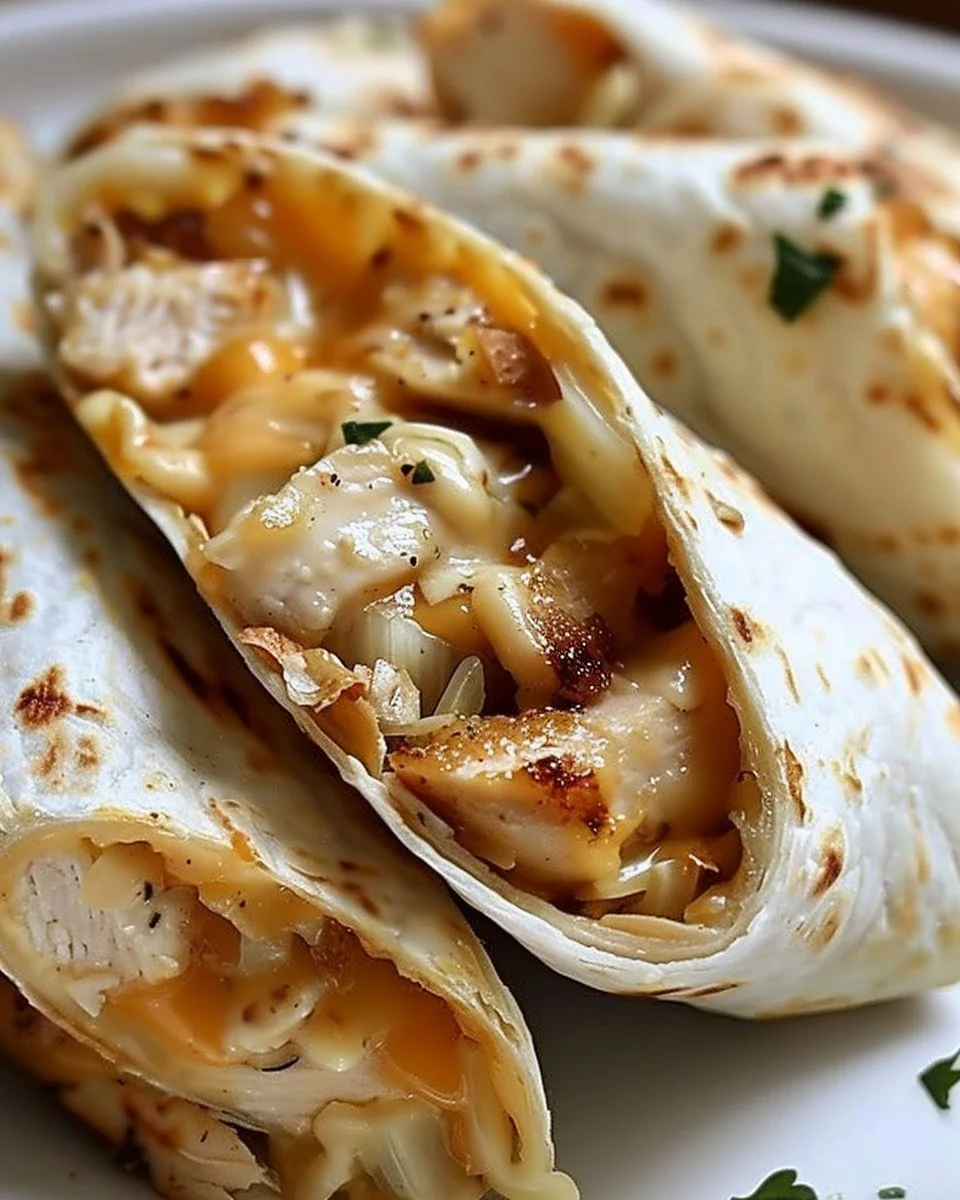
Step 5: Assemble the Wraps
Grab your tortillas! Spoon the chicken-cheese mixture onto the centre of the tortilla, then fold in from the sides and roll.
Why this step matters: If you overfill it, you’ll end up with a mess, but if you under-fill it? You’ll be left feeling sad and hungry.
Anecdote: My husband found out the hard way what happens with overstuffed wraps when his first bite resulted in an explosion of cheesy goodness all over the kitchen.
Step 6: Serve and Enjoy!
I usually serve this in shallow bowls because, let’s be honest, it looks fancier. They always ask, “Can we eat it in front of the TV?” I just nod, because does that count as quality family time?
The perfect side is a fresh salad, but honestly, sometimes we eat it straight from the frying pan while it’s still bubbling.
Leftovers taste even better because they let all those flavours mingle together overnight, so don’t fret if you have some left at the end.
Troubleshooting Real Life
- If you burn the bottom: Try scooping out the unburned bit quickly. Maybe do a little dance around the stove like you planned that—nobody needs to know.
- If you’re out of cheese: A simple substitute is cream cheese—adds creaminess and voilà!
- If you need to pause because school called or a toddler emergency happened: Just throw a lid on your pan; it’ll keep the heat and can wait a while.
- If it’s just not working: Hey, we’ve all had those days. Real talk? Just order takeaway from your fave local place. You deserve it.
The When I Make This Story
I usually make these wraps on a Wednesday because Wednesdays are the ‘let’s-just-get-through-it’ days. Life gets a bit too real mid-week, doesn’t it? While they cook, I often find myself folding laundry or cramming in a few small tasks because let’s face it —taking breaks never seems to happen when you’re a busy mum.
We eat them at the coffee table while watching whatever Disney movie we can bribe the kids into agreeing to. Cleanup takes about 10 minutes, but it’s worth it. I mean the kids are actually sunset-happy, and that’s a tiny victory I’ll take every week.
The Conversational Close
This recipe has seen me through all sorts of life events—birthday dinners, lazy nights in, or simply as fuel for the chaos that comes with raising kids. It might not be perfect, but it’s mine, and I wouldn’t trade it for the world.
I’d love to hear if you make it—tag me in your photos or just enjoy it quietly. What’s your go-to comfort food? Mine changes all the time, but right now, I’m holding forever close to my heart… and stomach… these Ooey-Gooey Cheesy Garlic Chicken Wraps.


Cheesy Garlic Chicken Wraps
Ingredients
Method
- Heat the olive oil in a pan over medium heat until hot.
- Add the diced chicken to the pan, seasoning with salt and pepper while cooking.
- Once the chicken is cooked through (about 7-10 minutes), add the minced garlic.
- Layer the shredded cheese on top of the chicken and cover the pan until the cheese is melted and gooey, about a minute.
- Spoon the chicken and cheese mixture onto the center of each tortilla, fold in the sides, and roll them up to create wraps.
- Serve the wraps in shallow bowls for a nicer presentation.