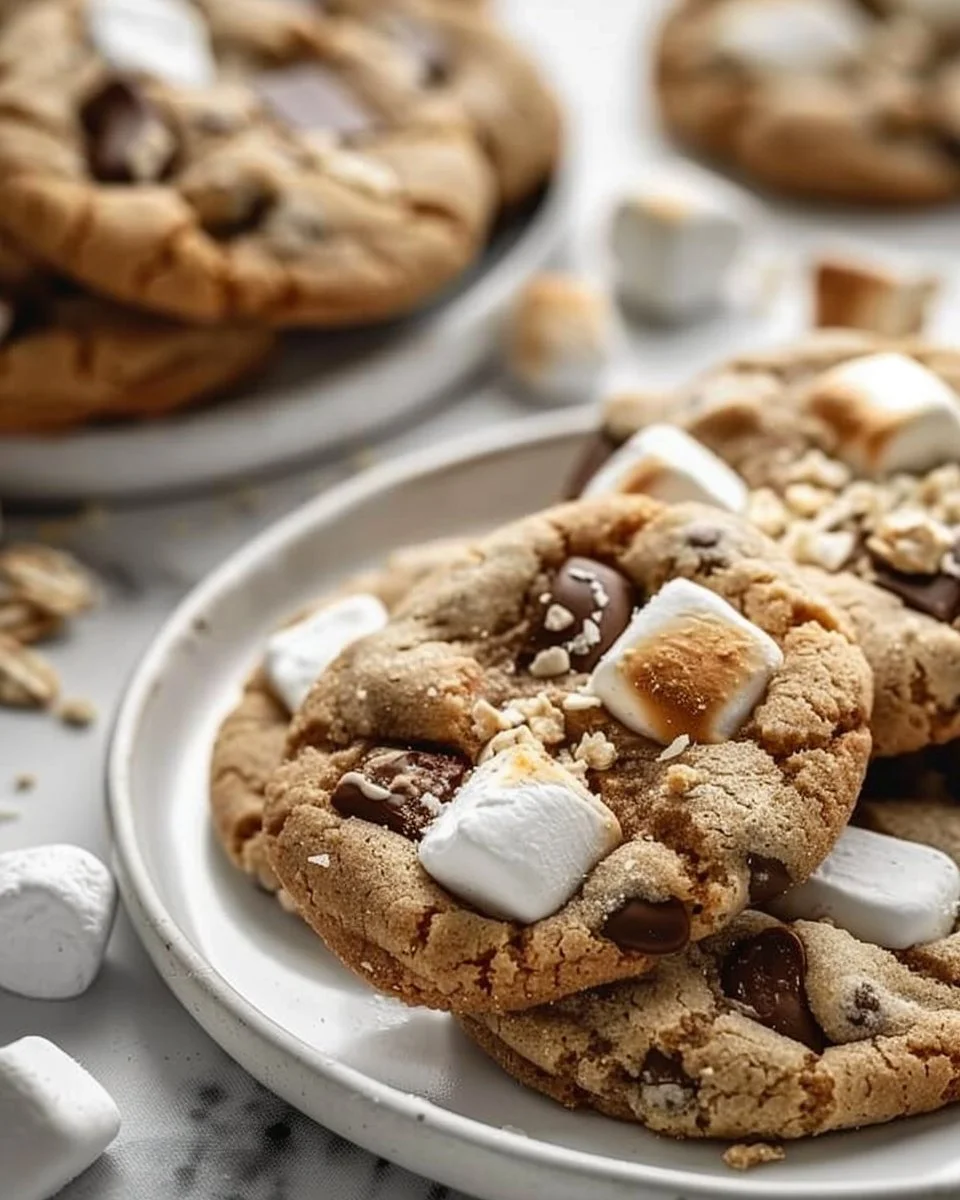
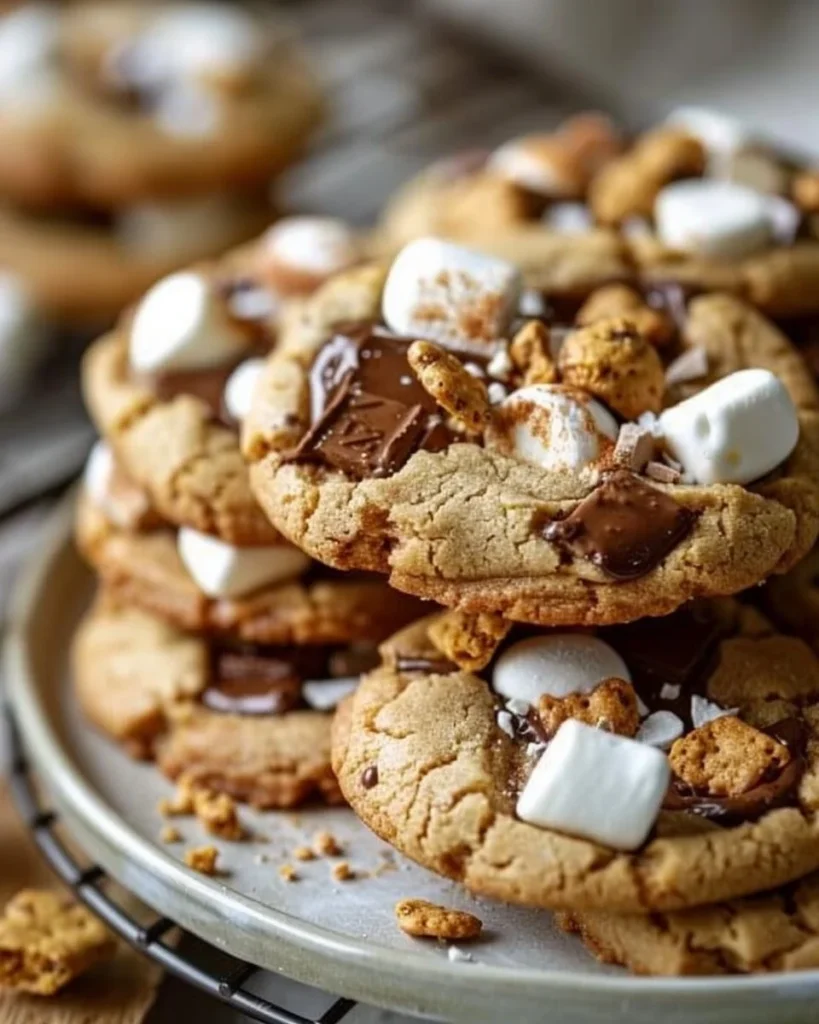
S’mores Cookies: The Sweetest Way to Relive Childhood Memories
The first time I tried to make S’mores Cookies, let’s just say it was a scene straight out of a sitcom. I had this grand vision of a sweet treat that would conjure up memories of campfires under the stars, and what did I end up with? A gooey, chocolatey mess that looked more like a failed science experiment than a cookie. My son, Jamie, walked in and exclaimed, “Mum, are we building a chocolate volcano?” I could hardly keep from laughing through my frustration. That day was years ago (it feels like a lifetime!), but it sparked a culinary adventure that ultimately led to these perfect little bites of nostalgia.
Let me save you from that first disaster—I promise these cookies will bring joy and a touch of magic back into your kitchen. I’ve come to realise that it’s not about perfection; it’s about creating moments that make your heart warm and your home smell heavenly. So, get ready for a recipe that does just that!
Why This Matters
Every time I bite into these S’mores Cookies, I’m taken back to summer nights spent with friends, roasting marshmallows, and sneaking a piece of chocolate or two when no one was looking (trust me, I still do this!). This isn’t just any cookie; it’s a symbol of camaraderie and the sweet comforts of life. You see, this isn’t just a recipe; it’s what to bake when you need a little light in a dreary day, when you want to impress someone with minimal effort, or when you simply need a hug in cookie form.
Before You Start
Before we roll up our sleeves, here are a few nuggets of wisdom to make your cookie-making experience smoother:
- If you only have semi-sweet chocolate instead of milk chocolate: That’s totally fine! Dark chocolate can elevate these cookies to a whole new level.
- The one tool that makes this infinitely easier: A freezer-safe plate is fantastic for chilling your cookie dough. It’s like giving your cookies a quick spa treatment!
- What to do if your toddler starts melting down at step 3: Just hand them some chocolate chips to ‘taste test’ – I mean, it’s all in the name of quality control, right?
- The exact wine to pour while cooking this: I’d personally recommend a glass of Riesling, but tea works wonders too for those cozy afternoons.
Ingredients List
Here’s what you’ll need to master this tasty treat:
- 2 cups all-purpose flour (I usually use the plain kind because, let’s face it, who has time for fancy stuff?)
- 1 teaspoon baking soda (Just don’t grab the baking powder by mistake—trust me on this!)
- ½ teaspoon salt (I use sea salt because it enhances the sweetness, but regular table salt is just fine.)
- ¾ cup unsalted butter, softened (Nothing fancy here, just the good old standard.)
- 1 cup packed brown sugar (I’m telling you, this adds that essential chewy texture.)
- ½ cup granulated sugar (More sweetness incoming!)
- 1 teaspoon vanilla extract (I’m a big fan of good-quality vanilla, and it does make a difference.)
- 1 large egg (All the way from our local farm, of course!)
- 1 cup chocolate chips (I favour the big chunky ones—more chocolate, more happiness!)
- 1 cup mini marshmallows (The tiny pillows of joy!)
- ½ cup graham cracker crumbs (My guilty pleasure: I tend to munch on these while cooking, just to ‘sample’ the ingredients!)
Step-by-Step Instructions
1. Preheat & Prep
Practical Instruction: Preheat your oven to 350°F (175°C) and line your baking sheets with parchment paper.
Human Insight: Preheating your oven ensures even baking. You wouldn’t want cookies to be perfectly golden on the outside and doughy in the centre now, would you?
Anecdote: I always used to skip this step (my son loved the "raw" cookie dough), but after a few too many tray disasters, I realised it’s a game changer!
2. Mix the Dry Ingredients
Practical Instruction: In a medium bowl, whisk together the flour, baking soda, and salt.
Human Insight: Mixing dry ingredients first helps to evenly distribute the leavening agent—no one wants a random puff of flour in one cookie!
Anecdote: My grandmother would always hum a tune while doing this part. I find myself singing her favourite song, it’s our little connection through the years.
3. Cream the Butter and Sugars
Practical Instruction: In a large mixing bowl, beat the softened butter, brown sugar, and granulated sugar using an electric mixer until it’s light and fluffy.
Human Insight: This step is crucial! The air we incorporate here helps the cookies rise beautifully and gives them a chewy bite.
Common mistake here: Over-beating can lead to flat cookies. Trust me, learn from my mistakes—I went through a phase where I thought fluffier meant better, but it wasn’t!
4. Add the Egg and Vanilla
Practical Instruction: Beat in the egg and vanilla extract at medium speed until well combined.
My personal hack: If the butter is a bit too hard, pop it in the microwave for 10-15 seconds to soften it, it’s a time-saver!
Anecdote: This is where Jamie always steals a lick of the beaters. The boy lives for this part!
5. Gradually Incorporate Dry Ingredients
Practical Instruction: Gradually add the dry mixture to the wet ingredients, mixing on low speed until just combined.
Common mistake here: Over-mixing again! Once you see those flour specks disappear, you’re done.
The sensory cue: You’ll know it’s ready when it begins to clump together without being too sticky.
6. Fold in the Goodies
Practical Instruction: Gently fold in the chocolate chips, mini marshmallows, and graham cracker crumbs.
Human Insight: Marrying these ingredients is where the magic happens. You get pockets of gooeyness and crunchy bites all in one cookie!
Anecdote: Every time I make these, I can hear the giggles of my nieces and nephews as they pile on extra marshmallows, which always leads to cookie wars—who can make the biggest cookie!
7. Form and Chill
Practical Instruction: Using a large cookie scoop, drop dough onto the prepared baking sheets, spacing them about 2 inches apart.
What to do if your toddler starts melting down: Roll out a small ball (for them) and let them decorate with mini-marshmallows while you shape the real ones.
Personal quirk: I usually aim for imperfect shapes; the more rustic, the better!
8. Bake to Perfection
Practical Instruction: Bake for 10-12 minutes or until the edges are golden brown.
Common mistake here: Don’t panic! If they look underbaked, they’ll continue cooking on the tray once you pull them out.
Anecdote: I once left them in for too long and ended up with cookie dust. The kids were disappointed until I told them we’d turn it into a ‘cookie shake’!
9. Cool, Then Indulge!
Practical Instruction: Allow cookies to cool on the baking sheet for a couple of minutes before transferring them to a wire rack.
Troubleshooting Real Life: If you’ve burnt the bottoms, don’t fret! Just slice off the bottom (or make it a ‘cookie crumb topping’—no judgment here).
The sensory cue: You’ll know they’re ready to transfer when the tops look set but a little gooey—pure heaven!
Serving Story
I usually serve these delightful S’mores Cookies on a large wooden platter because it just feels more rustic and homey—but let’s be real, sometimes we just eat them straight from the baking sheet because who can resist warm cookies?
If there are leftovers (which is rare), they taste even better the next day when the flavours meld together. After all, who doesn’t love a secret treat waiting for them in the cookie jar?
When I Make This
I usually whip these up on a Sunday afternoon, though I can be known to bake them mid-week when the ‘what’s for dessert’ discussion starts heating up at dinner. While they bake, I might fold a load of laundry or sneak an episode of my latest binge-watch. We gather around the dining table to share stories from our week while devouring these cookies as if they’re the last dessert on Earth.
The cleanup takes about 15 minutes, but honestly, it’s worth it to have that sweet smell linger in the house—especially during rainy autumn evenings.
Conversational Close
Okay, let’s be real—this recipe has seen me through school bake sales, family movie nights, and even those ‘I just need dessert’ days. It’s not perfect, but it’s filled with little quirks that make it entirely mine—just like that chaotic kitchen moment with flour in my hair.
I truly hope you give these S’mores Cookies a go! I’d love to see how they turn out, so tag me on your social media or simply enjoy them in your own quiet little corner.
And hey, tell me—what’s your go-to comfort food? Mine is always this beloved cookie in my heart.
S’mores Cookies
Ingredients
Method
- Preheat your oven to 350°F (175°C) and line your baking sheets with parchment paper.
- In a medium bowl, whisk together the flour, baking soda, and salt.
- In a large mixing bowl, beat the softened butter, brown sugar, and granulated sugar using an electric mixer until light and fluffy.
- Beat in the egg and vanilla extract at medium speed until well combined.
- Gradually add the dry mixture to the wet ingredients, mixing on low speed until just combined.
- Gently fold in the chocolate chips, mini marshmallows, and graham cracker crumbs.
- Using a large cookie scoop, drop dough onto the prepared baking sheets, spacing them about 2 inches apart.
- Bake for 10-12 minutes or until the edges are golden brown.
- Allow cookies to cool on the baking sheet for a couple of minutes before transferring them to a wire rack.