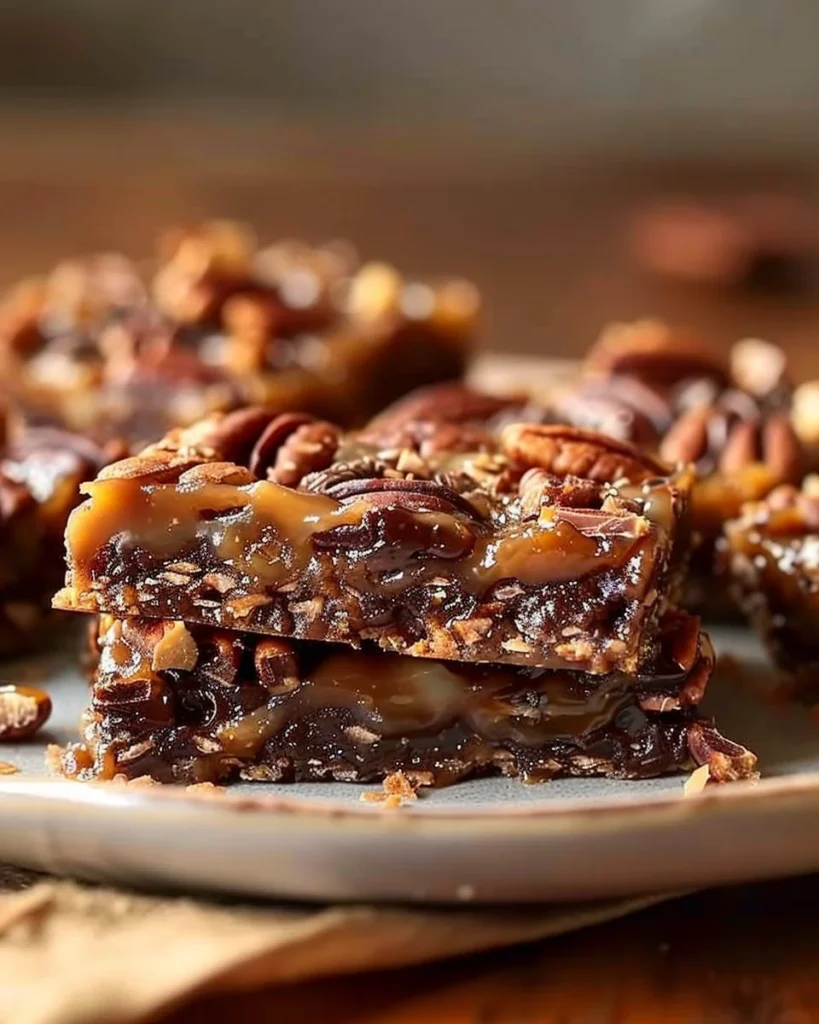
Easy Turtle Bars: A Sweet Slice of Comfort
The first time I attempted to make these Turtle Bars, I had a kitchen disaster that would make anyone question my culinary skills — or at least the state of my kitchen sanity. It was about ten years ago, just after I’d finally convinced myself that I was a competent cook. I had a home full of kids buzzing around, homework on the dining table, and a craving for something gooey and sweet. So naturally, my mind went to Turtle Bars, those glorious, indulgent squares packed with chocolate, caramel, pecans, and that buttery shortbread base that makes your heart just a little weak.
What followed was a chaotic affair involving a stuck pan, an audience of hungry little faces hopeful for dessert, and my very unfortunate decision to walk away for a touch too long. I came back to find not just a bubbly mixture of half-melted goodness but a stern talking to from my husband, who raised an eyebrow and said, “Just remember: chocolate is meant to be enjoyed, not scorched.” Lesson learned! Ever since that day, Turtle Bars have been my go-to treat, especially when life gets too hectic. Trust me, they’re the perfect remedy for any chocolate cravings or mood swings that come with juggling family life.
Why This Matters
Here’s the deal — we all face those days when dinner is watching us like a hawk, and the kids want nothing but dessert, stat. These Turtle Bars are a champion in that regard. They’re easy enough for a weeknight treat, comforting enough to soothe the chaos, and they always impress without ruining your wallet. Seriously, it’s hard to go wrong when your kitchen smells like melted chocolate and caramel. These squares whisper sweet nothings like, “I love you” without feeling overly mushy. Plus, they can take you from ‘slightly frazzled parent’ to ‘dessert hero’ in mere moments.
Before You Start
-
If you don’t have pecans: Use walnuts instead. (Not everyone has pecans lying around all the time, right?)
-
The one tool that makes this infinitely easier: A good non-stick baking pan. If you’ve got it, use it. You’ll thank me later.
-
Need a distraction? Pour yourself a glass of your wine of choice. It makes the stirring a bit more bearable, and let’s be honest, you deserve it.
-
Pro tip: These bars can be made a day ahead. They’re actually better the next day when all the gooeyness has had time to mingle.
Ingredients List with Personal Notes
- 1 cup unsalted butter, softened (Seriously, no margarine here. I only use the good stuff.)
- 1/2 cup brown sugar, packed (Light or dark, I usually go dark for that molasses goodness.)
- 1 cup all-purpose flour (I’ve used whole wheat in a pinch — ssshhh, don’t tell the kids.)
- 1 cup sweetened condensed milk (The magic is in the sweet stuff.)
- 1 cup semi-sweet chocolate chips (I usually splurge on Ghirardelli because, well, it’s chocolate.)
- 1 cup pecans, chopped (You can go for the fancy ones from the farmers market, but honestly, any will do.)
- 1/2 cup caramel sauce (Store-bought, because ain’t nobody got time for making it from scratch. I love the squeeze bottle from Tesco.)
- 1 teaspoon vanilla extract (Pure vanilla if you’re feeling fancy, but it’s not the end of the world if you use imitation.)
Step-by-Step With Stories
1. Preheat and Prepare
Practical Instruction: Preheat your oven to 350°F (175°C) and grease a 9×13 inch baking pan.
Why this step matters: Preheating ensures that your bars bake evenly — nobody wants a gooey mess in the middle.
Common mistake here: Forgetting to grease the pan. I’ve seen bars come out in pieces before, and it’s not pretty, believe me.
My personal hack: Use parchment paper lining as a double-whammy! You get easy removal and also save some elbow grease with clean-up.
Anecdote: I remember the first time I skipped this step. Let’s just say I ended up with a ‘deconstructed’ Turtle Bar situation that led to many apologetic “Oops” to the kids who were eagerly waiting.
2. Make the Base
Practical Instruction: In a bowl, beat the softened butter and brown sugar until light and fluffy. Gradually add the flour to form a smooth dough.
Why this step matters: This base is the foundation of your Turtle Bars — think of it like building a good house.
Common mistake here: Overmixing. I used to do this and ended up with a dense, sad slab, instead of the dreamy shortbread base.
My personal hack: If your butter is still a tad cold, zap it in the microwave for about 15 seconds—just enough to soften it, not melt it. (Full disclosure: I’ve learned the hard way.)
Anecdote: My daughter, Sophie, insists on adding the flour. She’s convinced it makes her “the head chef,” but really, it just means I get a little more mess with flour clouds in the air.
3. Spread It Out
Practical Instruction: Press the dough into the bottom of the prepared pan and bake it for about 10 minutes, until slightly golden.
Why this step matters: Baking it ahead of time helps to set the base so it doesn’t turn into mush when you add the toppings.
Anecdote: I’m telling you, this is where I usually start doing a little dance in the kitchen. It smells like butter and sugar and makes me feel a bit like a professional baker, even though my previous attempts to impress my mother-in-law were limited.
4. The Sweet Layering
Practical Instruction: While the base cools, combine sweetened condensed milk, chocolate chips, and vanilla in a saucepan over low heat. Stir until melted and smooth.
Why this step matters: This is the creamy layer that pulls it all together. You want it nice and gooey, not just melted blobs of chocolate.
Common mistake here: Not stirring enough. I used to think it would all magically come together, but I’d end up with chocolate lumps. Trust me, it’s not a good look.
Sensory cue: You’ll know it’s ready when you find yourself simply standing by the stove inhaling the heavenly smell wafting up.
Anecdote: I once had this on the stove while trying to help with homework, and my son caught me in what can only be described as a chocolate trance. I think he finally understood why I get so distracted in the kitchen.
5. Add Those Pecans
Practical Instruction: Pour the melted chocolate mixture over the slightly cooled base and then scatter the chopped pecans evenly over the top.
Why this step matters: Those pecans add just the right amount of crunch to the gooey goodness of the chocolate and caramel.
My personal hack: Lightly toasting the pecans in a dry skillet for a couple of minutes enhances the flavour and will leave your house smelling divine.
Anecdote: My husband, Nigel, always teases that I put too many pecans in, but honestly, is there such a thing? When he’s not munching on them raw, he secretly helps himself right out of the bowl!
6. Caramel Time
Practical Instruction: Drizzle the caramel sauce over the pecans, making sure to cover all the little nooks and crannies.
Why this step matters: This is the binding magic — it all melds together while baking.
Common mistake here: Overdoing it on the caramel. I’ve had to fish out some overly sticky bars that were more glue than dessert.
If you need to pause: Slap a piece of foil over the pan until you’re ready to continue. Life happens, right?
Anecdote: Just the other day, I poured too much caramel and shouted out loud to the universe, “Why do you test me?” The kids giggled and just nodded; it’s become an ongoing kitchen joke around here.
7. Bake It
Practical Instruction: Bake until caramel is bubbly and golden brown – around 20-25 minutes.
Why this step matters: This is where all the magic happens. Everything melds beautifully.
Common mistake here: Not keeping an eye on it. I’ve had many a close call when things start creeping toward burnt.
Anecdote: I once had the oven set a little too high and learned the hard way that if they start to smell like cookies turning into charcoal, you’re in for some serious trouble.
8. Cooling Down
Practical Instruction: Let the bars cool in the pan for at least an hour before cutting. (This is key — don’t rush it!)
Why this step matters: It gives everything a chance to set properly. If you cut too early, it’ll all just fall apart.
Common mistake here: Trying to cut while it’s too hot. Do yourself a favour and just resist.
Anecdote: My kids once fairly yelled at me for making them wait, and that seemed to inflate my pride. Their anticipation was so humorous; I felt like a pastry chef in some high-stakes cooking show.
Troubleshooting Real Life
-
If you burn the bottom: Don’t panic. Just cut off the edges where it’s burned, and nobody will notice. Consider it a rustic touch.
-
If you’re out of chocolate chips: Chopped chocolate bars can sub in, and I’ve even used Nutella (either layer it or just spread it on top after baking—it’ll be a bit messy, but so delightful).
-
If you need to pause: Pop it in the fridge after step six and come back to it later.
-
If it’s just not working: If you’re wrestling with it and it feels wrong, go ahead and grab some ice cream instead — life’s too short, I’m not judging.
The Serving Story
When it comes to serving these beauties, I love using a big, deep white bowl. Not only does it highlight the layers, but honestly, it’s big enough to handle all the chaos of serving kids and adults. I let them cool to room temperature and sometimes even whip out a little whipped cream for those who can handle it.
Leftovers (if there ever are any) taste even better since the bars get that lovely chewiness overnight, almost like they’ve had a chance to cuddle together and soak up all the flavours.
When I Make This
I usually whip these up on Sunday because we’re all gearing up for the week, but I sometimes find myself making a batch on a whim. While I make them, I try to fold laundry or sneak in a podcast episode because, let’s be real, multi-tasking is a must.
We typically gather around the coffee table, paired with a movie or family board game. Clean-up takes about 10 minutes tops, and it’s worth it because I love the feeling that we’ve all bonded over dessert.
The Conversational Close
These Turtle Bars have seen me through countless chaotic evenings, school events, and spur-of-the-moment gatherings. They’ve given me the chance to impress (or wow) my kids while also feeding my perpetual need for chocolate.
They might not be gourmet, but they’re made with love and laughter in a slightly chaotic kitchen — which is what cooking should be about anyway. I’d love to hear if you make them. Tag me or just enjoy them quietly!
What’s your go-to comfort food? Mine fluctuates, but right now, it’s all about these Turtle Bars.

Feel free to drop a comment or share your own kitchen stories. Trust me, the more we share, the less alone we feel. Happy baking!

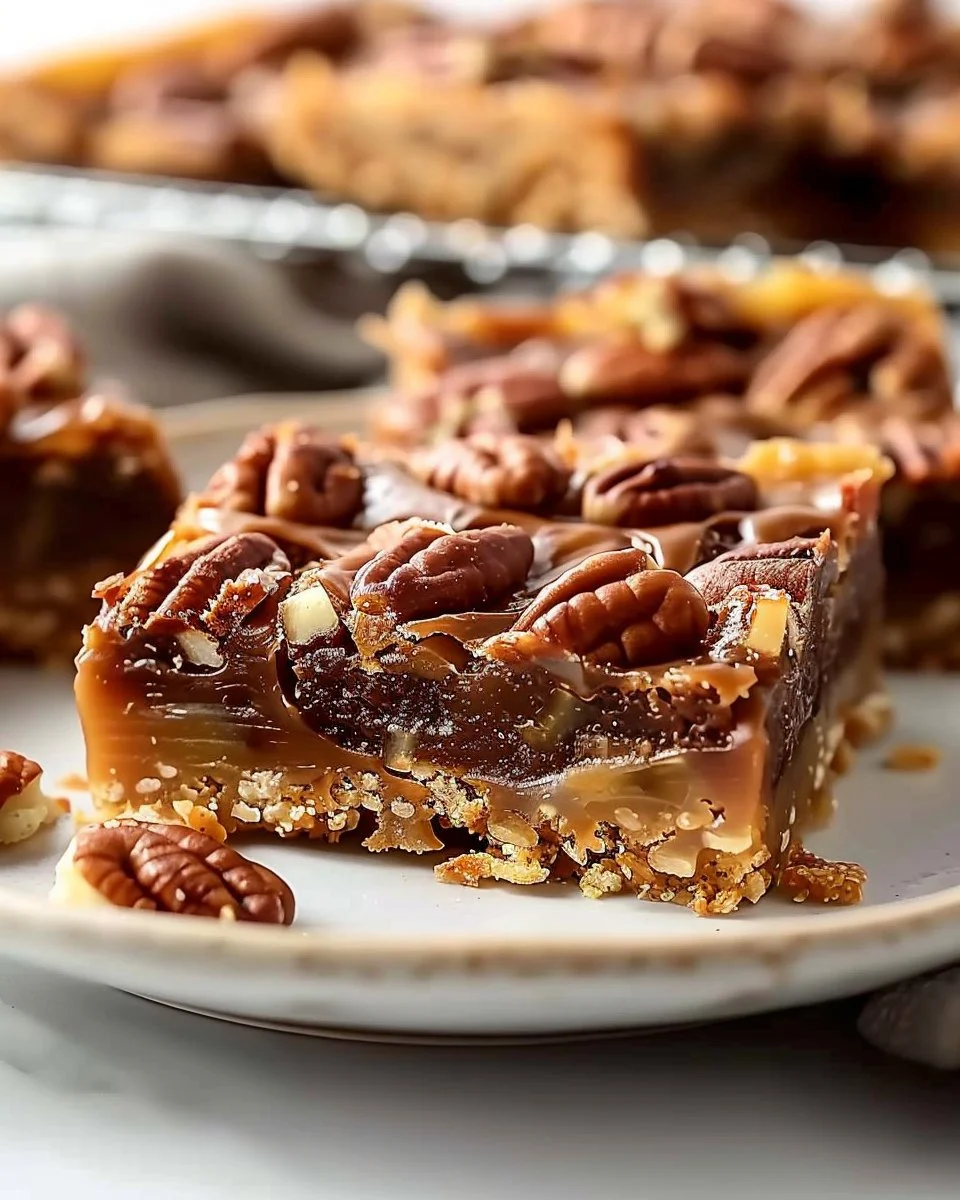
Turtle Bars
Ingredients
Method
- Preheat your oven to 350°F (175°C) and grease a 9x13 inch baking pan.
- In a bowl, beat the softened butter and brown sugar until light and fluffy. Gradually add the flour to form a smooth dough.
- Press the dough into the bottom of the prepared pan and bake it for about 10 minutes, until slightly golden.
- While the base cools, combine sweetened condensed milk, chocolate chips, and vanilla in a saucepan over low heat. Stir until melted and smooth.
- Pour the melted chocolate mixture over the slightly cooled base and then scatter the chopped pecans evenly over the top.
- Drizzle the caramel sauce over the pecans, making sure to cover all the little nooks and crannies.
- Bake until caramel is bubbly and golden brown – around 20-25 minutes.
- Let the bars cool in the pan for at least an hour before cutting.