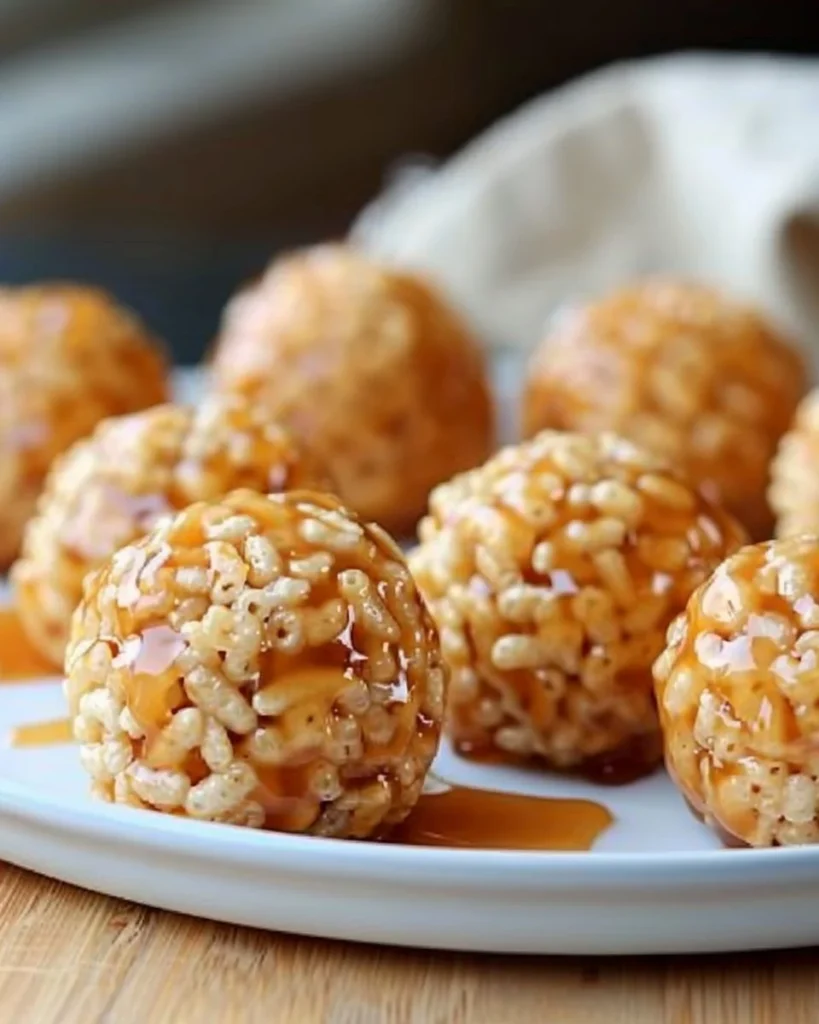
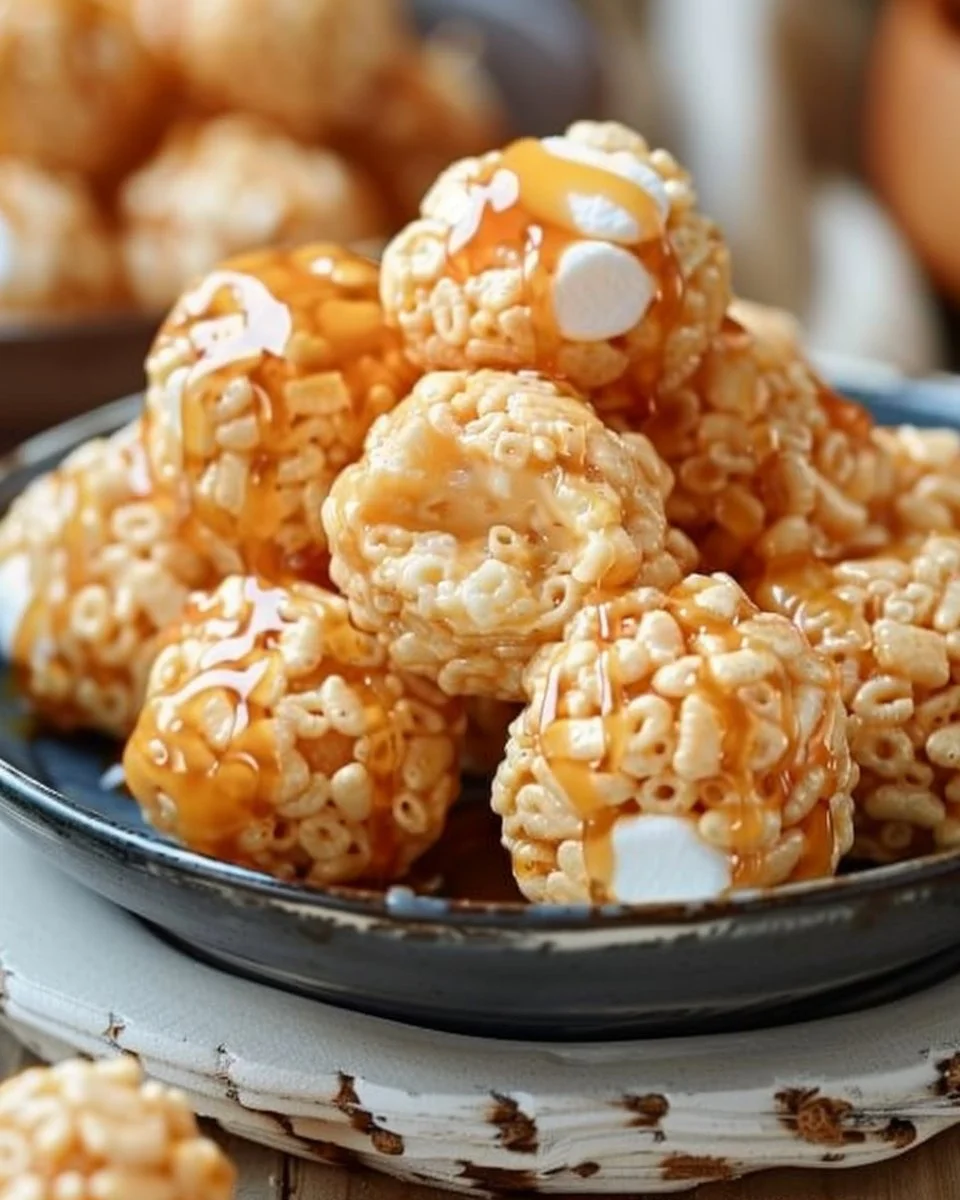
Caramel Marshmallow Rice Krispie Balls Recipe: A Sweet Twist on a Classic
The first time I tried to make these Caramel Marshmallow Rice Krispie Balls, I’ll be honest with you—I had no idea what I was doing. I was whipping up a batch, feeling all smug like I was some sort of gourmet chef when, out of nowhere, my four-year-old son, Jack, decided that was the moment he should return from his deep dive into the toy box, armed with a rather boisterous “Mum, look!” (you can guess how that ended). In my distracted moment, I dumped what I thought was the right amount of marshmallows into a pan, only to later realize I’d inadvertently poured in half the bag. By the time I’d salvaged that mess, the kitchen looked like a sticky war zone, and I was left both frazzled and a bit paranoid about my cooking skills.
But here’s the thing—after that chaotic first attempt, I found a way to turn it into something I actually loved. Now, I whip up these sweet little nuggets of joy whenever I need a treat that’s fun, sentimental, and, let’s face it, a total crowd-pleaser. They’re a solution to my sweet tooth cravings, a great project when Jack’s got a friend over, and most importantly, a reminder that cooking doesn’t always go as planned, but that’s okay. Let me save you from that first disastrous attempt.
Why This Matters
This recipe isn’t just about throwing together some rice cereal and marshmallows. It’s about those moments of sweetness—literally and metaphorically—when life throws curveballs. This is what you whip up when you need a pick-me-up. Maybe it’s a long day at work, a “I-can’t-believe-my-kid-did-that” kind of day, or just a craving for a little nostalgia from your own childhood. These Caramel Marshmallow Rice Krispie Balls say “I care” without the weight of fancy desserts. Plus, believe me, they look fancy enough for your friends to think you’re all put together!
So, let’s roll up those sleeves (figuratively—sticky fingers ahead) and make something sweet together.
Before You Start
- Use whatever rice cereal you have: If you’ve got generic rice puffs or those colourful Fruity Krispies screaming in the pantry, trust me, they work too.
- The one tool that makes this infinitely easier: A good rubber spatula is a game changer. Seriously. You’ll want to scrape every last bit of that marshmallow goo without losing your mind.
- What to do if your toddler starts melting down at step 3: Trust me, I’ve been there. Just pop a couple of marshmallows (okay, maybe three) in their hands. Instant distraction.
- The exact drink to pour while making this (or tea, if it’s that kind of day): A lovely cup of Earl Grey. The comforting aroma of bergamot gets me through sticky situations.
Ingredients List
- 3 cups Rice Krispies (I usually get whatever’s on sale—this time it was Tesco’s own brand and surprisingly good)
- 4 cups mini marshmallows (I feel guilty if I don’t eat a few; you should too, right?)
- 1/4 cup unsalted butter (it’s always best, but salted butter? Let’s just say I’ve got a rebellious streak sometimes)
- 1/2 cup caramel sauce (homemade if I’m feeling fancy, but honestly, store-bought works just as well)
- 1 tsp vanilla extract (for that touch of magic; I use Dr. Oetker’s because it’s lovely and fragrant)
- A pinch of salt (don’t skip it—balance is key in life and dessert)
The Step-by-Step with Stories
Step 1: Melt the Butter and Marshmallows
In a large saucepan, melt the butter over medium-low heat. Then add the mini marshmallows and stir until they are completely melted and the mixture is smooth.
Why this step matters: It’s all about the marshmallows here—the more you stir, the creamier and gooier it gets.
Common mistake here: Don’t crank up the heat. I used to think faster equals better until I burnt a batch and nearly set off my smoke alarm. Learn from my mistakes.
My personal hack: I keep a bowl nearby with a splash of water. If you accidentally get too sticky while stirring, just wet your spatula and keep going.
The sensory cue: You’ll know it’s ready when the marshmallows look like molten lava—and smell like happiness.
Anecdote: This is where Jack usually pops up, wanting to dip his finger in. I’ve learned to let him do it—who can resist gooey marshmallows, right?
Step 2: Stir in the Rice Krispies
Once the marshmallows are melted, pour in the Rice Krispies and mix until they’re well coated.
Why this step matters: You want the cereal to soak up all that marshmallow goodness.
Common mistake here: Not mixing enough. You end up with clumps instead of balls, and we don’t want that.
If you’re multi-tasking: Now’s the time to pour a cup of tea. You deserve it.
Anecdote: I learned this tip from my friend Sarah, who always has the best rice crispy treats. Turns out she mixes in some chocolate chips (rebel, am I right?).
Step 3: Fold in Caramel Sauce
Take that gooey Rice Krispie mixture off the heat and drizzle in the caramel sauce. Fold it in gently but thoroughly.
Why this step matters: You need to get that sweet caramel distributed without crushing all your Rice Krispies into oblivion.
My personal hack: If the caramel sauce seems a bit thick, warm it in the microwave for about 10 seconds first. Trust me, it makes mixing easier.
The sensory cue: You’ll know it’s mixed when you can see the ribbons of caramel glistening, like a sweet little tapestry.
An anecdote: This is the step where I usually get way too distracted thinking about adding a bit of chocolate drizzle on top. I mean, how can you resist that?
Step 4: Form the Balls
Now, it’s time to get your hands a bit gooey. Wet your hands with a bit of water (seriously), and take a handful of the mixture. Roll it into a ball about the size of a golf ball.
Common mistake here: Overthinking it. Just roll them—imperfection is part of the charm.
If you need to pause because your kid needs something: Just keep the mixture covered with a slightly damp towel. It won’t dry out immediately.
Anecdote: This is a family affair now. Jack’s convinced he’s a professional ball roller. I just let him. Each one’s slightly different, and that’s the beauty of cooking together, right?
Step 5: Let Them Set
Place the formed balls on a parchment-lined baking sheet and let them set for at least 15-20 minutes.
The secret nobody tells you: They’ll be soft initially, but they’ll firm up nicely as they cool.
Common mistake here: Trying to rush and eat them while still warm. I’ve done this and burned my tongue more than I’d like to admit.
The sensory cue: You’ll know they’re ready when they feel a bit firmer to the touch, but still have a playful squish.
Troubleshooting Real Life
- If they’re too sticky: Maybe the mixture needed more Rice Krispies. If you find you’re holding onto a gooey mess instead of lovely balls, just add another handful and mix.
- Out of caramel sauce? Melt a bit of chocolate instead. It can save the day, and hey, chocolate never hurt anyone.
- If it’s just not working: If you find yourself completely defeated and they’ve collapsed into a marshmallow pancake, embrace it! Grab a spoon and call them deconstructed Rice Krispies.
The Serving Story
I serve these beauties in old-fashioned glass jars I have hoarded over the years. It gives a rustic feel that makes each jar feel like a little treat box.
The perfect side: Maybe some sliced apples, mostly because I start feeling guilty after all that sugar.
Leftovers: They stay fine at room temperature for a few days—if you can resist eating them all in one go, which to be honest, I can’t. You’ll love how they seem to get a bit chewier each day.
When I Make This
I usually make these on a Sunday afternoon while Jack’s busy decimating Lego towers in the living room. It’s almost therapeutic, stirring and rolling those little balls.
While these are marinating, I make the infamous cup of Earl Grey. I may also throw in a quick episode of something on Netflix while keeping a watchful eye on the setting process, because that’s real mom-life right there. We often eat them sitting at the coffee table while watching an old movie.
The cleanup takes about 10 minutes, which honestly isn’t bad, but I will admit I often end up nibbling on what’s stuck to the saucepan. It’s a little quirk of mine—gotta taste test, right?
The Conversational Close
This recipe has seen me through long work weeks, celebratory Saturday afternoons, and random sweet cravings. It might not be perfect, but it’s mine, and it carries those memories—laughter, melted marshmallows, and tiny hands helping in the kitchen.
I’d love to hear if you make them—tag me or just enjoy this delicious mess in your own kitchen. What’s your go-to comfort food? Mine changes, but right now, it’s this. Trust me on this, you won’t regret it!
And there you have it! The Caramel Marshmallow Rice Krispie Balls Recipe. Ready to tackle it? I promise it’s way more fun than it sounds, and I’m right here cheering you on. Happy cooking!

FAQs
-
Can I use regular marshmallows instead of mini?
Absolutely! Just cut them into smaller pieces, or they’ll take a bit longer to melt. -
What if I want to stick to my diet?
You could use sugar-free marshmallows and caramel sauce; just know the texture may vary a bit. -
How do I store leftovers?
Keep them in an airtight container—if they last that long! -
Can I freeze these?
Sure, but they may lose some of their gooey charm once thawed. -
What variations can I try?
You can mix in nuts, chocolate chips, or even swap the caramel for peanut butter. Get creative!
I hope this recipe brings you as much joy as it has for me, messy kitchen and all!

Caramel Marshmallow Rice Krispie Balls
Ingredients
Method
- Melt the butter over medium-low heat in a large saucepan.
- Add the mini marshmallows and stir until melted and smooth.
- Pour in the Rice Krispies and mix until well coated.
- Remove from heat and gently fold in the caramel sauce.
- Wet your hands with water and roll the mixture into golf ball-sized balls.
- Place the balls on a parchment-lined baking sheet and let them set for at least 15-20 minutes.