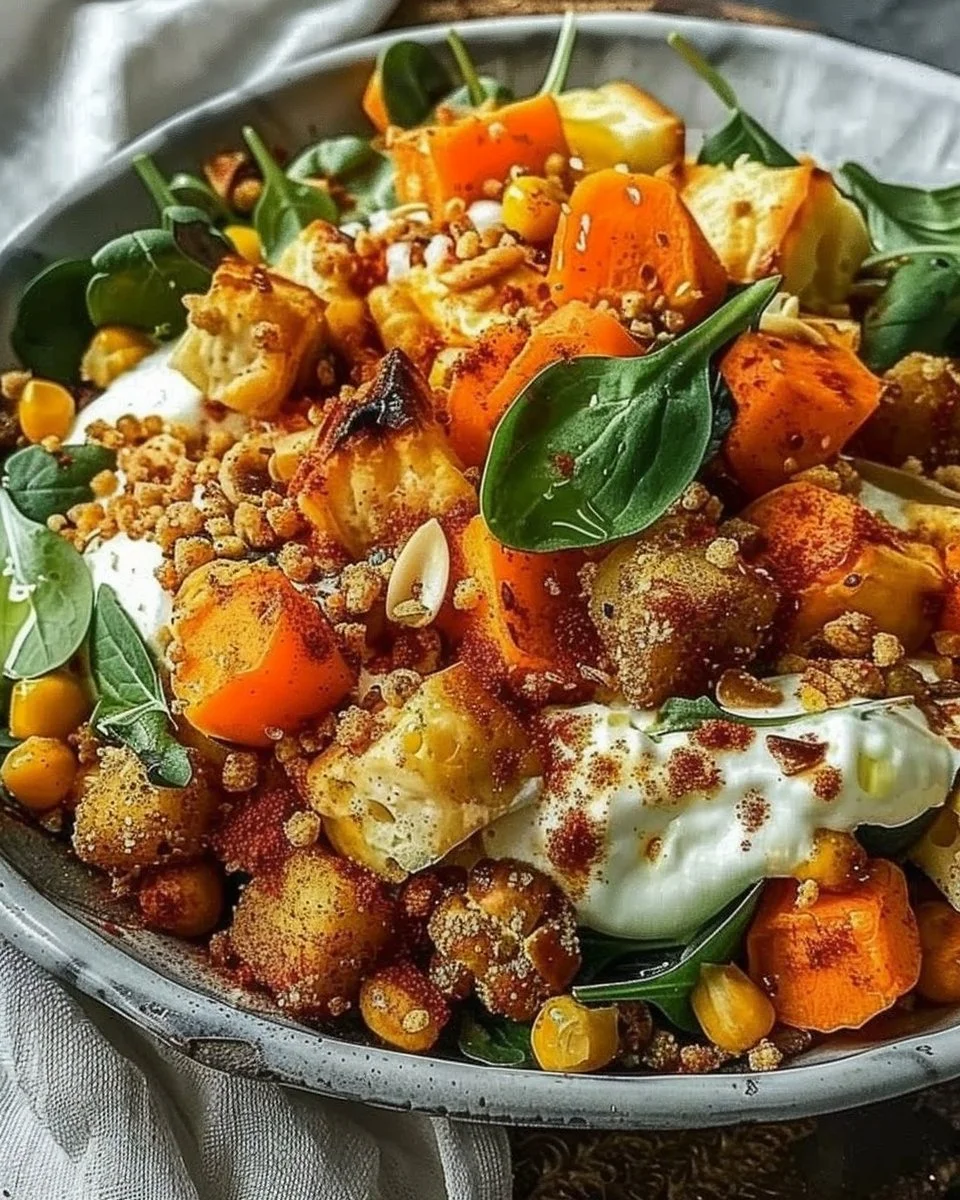
The Anti-Inflammatory Glow Bowl: A Comforting Bowl of Wellness
The first time I tried to make an “anti-inflammatory” dish, I was convinced I’d turn into some sort of health goddess overnight, swirling my kale like a warrior princess. What did I end up with? A sad-looking mix of what was supposed to be a nourishing bowl but looked more like rabbit food mixed with regret. My friend Lisa strolled in, took one look at me, and said, “You know, it doesn’t have to be this hard.” That was five years ago, and since then, I’ve come a long way. The inspiration for today’s Anti-Inflammatory Glow Bowl came from that moment—a simple, colourful dish that is a feast for the eyes and soul.
Why This Matters
Okay, let’s be real. In today’s world, it’s so easy to feel tired and run-down. Stress, poor eating habits, and everyday chaos can really take a toll on our physical and mental health. We all know how important it is to fuel our bodies with good food, but let’s face it: nobody wants to eat something that looks like it should be on the floor of a petting zoo. This bowl is here to remind you that healthy can be gorgeous, bright, and absolutely delicious. It’s what you make when you need a bit of a pick-me-up, but you also want to indulge your taste buds without feeling guilty later on.
Before You Start
- If you only have regular rice instead of quinoa, no worries at all! Your Glow Bowl will still taste fabulous, just a tad less “glow-y.”
- The one tool that makes this infinitely easier? A good old blender. Trust me, it saves tons of chopping time, especially for the dressing.
- What to do if your toddler starts melting down while you’re trying to blend the spinach? I’ve been there. Just hand over a few extra carrot sticks to keep them busy, and you’ll be good to go (or at least buying yourself five minutes).
- Treat yourself by pouring a nice herbal tea while prepping. Trust me; it makes the experience feel extra special.
The Ingredients
Here’s everything you’ll need for this glow-inducing dish, along with my personal notes:
- 1 cup quinoa, rinsed (I love using red quinoa because it adds a pop of colour, but any type will do)
- 2 cups vegetable broth or water (Heinz Veggie Broth is my go-to—full of flavour and so handy)
- 1 cup chickpeas, canned (because honestly, who has time to soak them?)
- 2 cups spinach, fresh (this is where the glow comes from; you want that leafy goodness)
- 1 medium avocado, sliced (I usually get the ripest one because, well, life’s too short for sad avocados)
- 1 tbsp olive oil (but don’t skimp; a good quality cold-pressed one makes a world of difference)
- 1 tsp turmeric powder (this is my secret weapon—anti-inflammatory gold!)
- Salt and pepper to taste (always a good idea to season as you go)
- 1 tbsp apple cider vinegar (trust me, it gives it a kick you didn’t know you needed)
- Optional toppings: pumpkin seeds or pomegranate seeds (you can never have enough crunch)
Step-by-Step Instructions
Step 1: Cook the Quinoa
Practical Instruction: In a medium saucepan, bring the vegetable broth or water to a boil. Pour in the rinsed quinoa and reduce the heat to low. Cover and let it simmer for about 15 minutes until all the liquid is absorbed.
Human Insight: Cooking quinoa perfectly involves understanding its water absorption. If you don’t rinse it properly, it might have a slightly bitter taste. No one wants that!
Anecdote: I’ll be honest; I rushed my quinoa in the past, and let’s just say ‘glutinous mush’ doesn’t quite have the same ring to it as ‘fluffy quinoa.’ No rushing this time!
Step 2: Prep the Chickpeas
Practical Instruction: While the quinoa cooks, drain and rinse the chickpeas under cold water.
Human Insight: If you want the chickpeas to be extra crispy when you serve them, toss them in a bit of olive oil and roast them for 20 minutes at 200°C (392°F). But, hey, canned chickpeas are perfectly fine, too—no judgment here!
Anecdote: My kids used to think it was hilarious to try and eat chickpeas straight from the can, so I usually keep a tin on hand just for them. (Okay, fine; I sneak some too.)
Step 3: Make the Dressing
Practical Instruction: In a small bowl, whisk together the olive oil, apple cider vinegar, turmeric, salt, and pepper.
Human Insight: Dressing is vital—it’s what really brings everything together. Don’t skip this step!
Anecdote: I didn’t know what a whisk was for the longest time (yes, I’ll admit it). I ended up using a fork, which somehow worked. But now—fancy whisk all the way!
Step 4: Assemble the Glow Bowl
Practical Instruction: Once the quinoa is fluffy, fill a bowl with it as a base. Layer the chickpeas, fresh spinach, and sliced avocado on top.
Human Insight: Arranging your food beautifully has psychological benefits; it makes you more inclined to enjoy it. Plus, who doesn’t love an Instagram moment?
Anecdote: This is the part where I always try to channel my inner food-blogger, and I think, “I’m not saying I could win a cooking show, but… with good lighting, anything is possible!”
Step 5: Drizzle and Serve
Practical Instruction: Drizzle the dressing over the assembled Glow Bowl and sprinkle with your optional toppings.
Human Insight: Topping things off adds an unexpected crunch that elevates the bowl, making you feel like you’re treating yourself (even if you just spent the day in sweatpants).
Anecdote: My friend Claire—a self-proclaimed foodie—once taught me the importance of presentation. I didn’t believe her until I put it to the test; turns out, it really does make a difference.
Troubleshooting Real Life
- If you burn the quinoa: It’s a common tale. If that happens, you can salvage it by scrapping the burnt bits off the bottom. You can also add chicken or vegetable stock if you need to mask the burnt flavour.
- Out of chickpeas? You can easily substitute with cooked lentils or black beans. Both will still provide protein and keep the heartiness intact!
- Pause for chaos? If you suddenly need to tend to a kitchen emergency (like a toddler tantrum), just cover your bowl and put it aside; everything will still be edible in fifteen.
Serving Story
I serve this glorious bowl in my favourite old pasta dish because it reminds me of Sunday dinners at my family table in Emilia-Romagna—that’s probably why it tastes even better. Honestly? Sometimes we just eat it straight from the pan like it’s a guilty pleasure (shhh, I won’t tell).
The best part? Leftovers. They taste even better the next day because the flavours get to mingle a bit more. I’m telling you, your future self will thank you for making double.
When I Make This
I usually whip up this bowl on a Wednesday evening, when I’m juggling the chaos of school pick-ups and the looming mound of laundry (seriously, when does it end?). While it cooks, I try to sneak in a quick phone call to my sister, who always ends up giving me the best meal prep tips. We eat this at the coffee table with our legs tucked under us while watching a cheeky episode of our favourite show. Cleanup takes about ten minutes, but it’s totally worth it, especially with a clean kitchen that smells like turmeric and hope.
Conversational Close
This Anti-Inflammatory Glow Bowl holds a special place in my tummy and heart, a reminder that good health can come in scrumptious colour. It’s seen me through weekend brunches, rushed weeknights, and even the odd self-care moment. But let’s be real, it might not be perfect, but it’s mine.
I’d love to hear how yours turns out! Feel free to tag me on social media or just enjoy your lovely bowl quietly. What’s your secret weapon for lifting your spirits in the kitchen? Mine just so happens to be this doable delight.

I hope you find joy making this bowl as much as I’ve enjoyed sharing it!
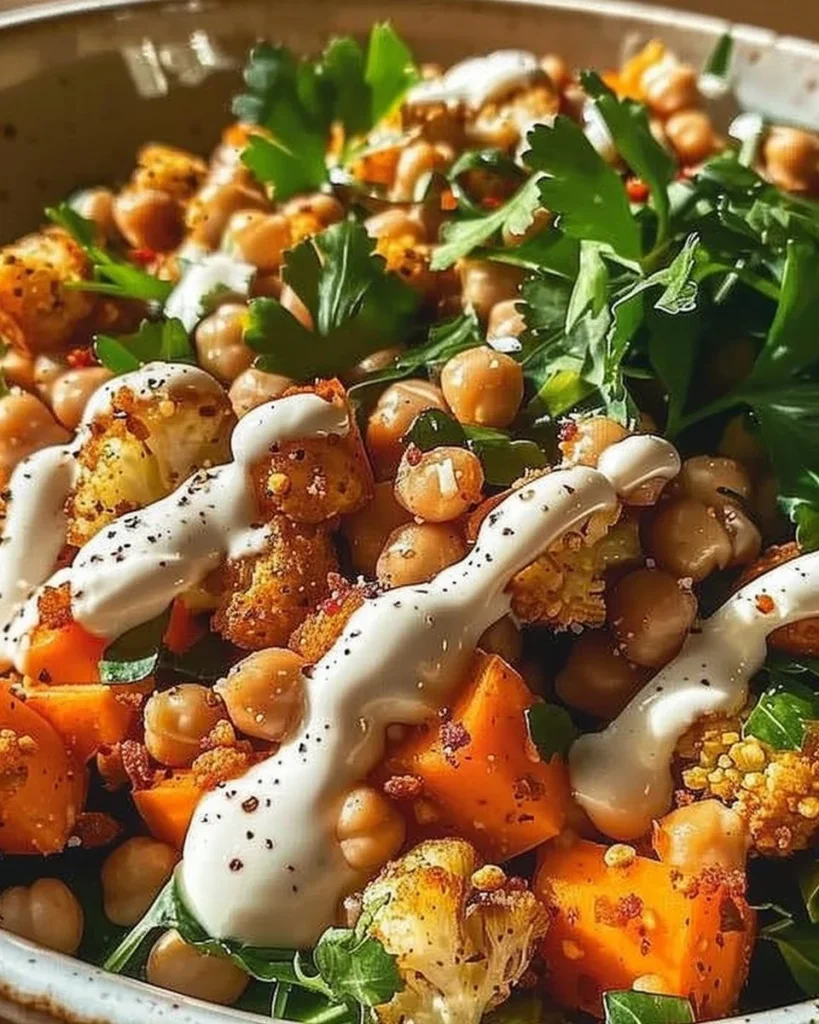
Anti-Inflammatory Glow Bowl
Ingredients
Method
- In a medium saucepan, bring the vegetable broth or water to a boil. Pour in the rinsed quinoa and reduce the heat to low. Cover and let it simmer for about 15 minutes until all the liquid is absorbed.
- While the quinoa cooks, drain and rinse the chickpeas under cold water.
- In a small bowl, whisk together the olive oil, apple cider vinegar, turmeric, salt, and pepper.
- Once the quinoa is fluffy, fill a bowl with it as a base. Layer the chickpeas, fresh spinach, and sliced avocado on top.
- Drizzle the dressing over the assembled Glow Bowl and sprinkle with your optional toppings.