Jammy Soy Sauce Eggs: A Journey Through Creamy Perfection
The Emotional Hook
The first time I made jammy soy sauce eggs, it was a disaster. And not the cute kind of disaster where you spill flour on your shirt and laugh it off. I’m talking real chaos. Picture this: it was a rainy Saturday, and I had decided it was the perfect day to try something new. I’d seen the gorgeous photos on Instagram, perfectly marbled eggs glistening with soy sauce, and thought, “How hard can this be?” Spoiler alert: very hard, apparently.
I accidentally overcooked the eggs, and they turned out rubbery, and to add insult to injury, the soy sauce I used was one of those cheap brands that I didn’t even want to admit to the world. My husband, bless his heart, tried to bite into one and ended up chewing on the stretchy white part like it was some kind of overcooked egg taffy. "Maybe we should take a break from the fancy stuff?" he joked.
Now, that was several years ago, and I’ve gone through my fair share of trials since then, including a few more culinary catastrophes. But here’s the thing — I’ve figured out how to make jammy soy sauce eggs that are, well, worth writing home about. So, let me just save you from the grief of those first awful attempts. Trust me, you want to avoid egg taffy.
Why This Matters
These eggs aren’t just a snack; they’re a little piece of comfort that says, “I get you.” Maybe you’ve had a long week, got stuck in the rain, or your kids are driving you up the wall — I’m telling you, these eggs make everything a bit brighter. They sit perfectly atop a bowl of rice or even just as a snack on their own when you need something to dip into, like pure joy with a side of soy sauce. This is how you impress a friend who drops by last minute and needs some love on a plate without resorting to takeout (again).
Before You Start
- If you’re thinking you can just grab any eggs, well, you’ll want at least some medium-sized ones. Larger eggs can turn into rubber balls rather quickly, and baby ducks may come out of them (just kidding, sort of).
- The one tool that makes this infinitely easier? A timer. Seriously. Your smartphone will do, but if you have a kitchen timer lurking in a drawer, give it a whirl. You’ll thank me later.
- What to do if your toddler starts melting down during the egg peeling step? Tell them they can have a special “taste test” of the soy sauce. It will buy you at least five more minutes of calm.
- The exact drink to pour while cooking? A cup of green tea pairs nicely with these bad boys. The calming warmth will balance out the kitchen chaos.
Ingredients List
- 6 medium eggs (I use organic, but only because they seem happier than the others.)
- ⅓ cup soy sauce (I prefer Koon Chun brand, but honestly, just don’t buy the cheap stuff.)
- 1 tbsp mirin (This adds a hint of sweetness. Who doesn’t love a little sweet in their salty?)
- 1 tsp sugar (You can skip it if you’re trying to be all health-conscious, but seriously, don’t.)
- 2 green onions, sliced (These look fancy on top. Just trust me.)
- Sesame seeds (optional) (It’s like your eggs are wearing a fancy hat. But they’ll taste good without it, too.)
Step-by-Step Instructions
Step 1: Boil the Eggs
Bring a pot of water to a gentle boil.
Why this step matters: This is the most critical moment. You want your eggs to be just right, with that perfect jammy yolk.
Common mistake here: Trust me, if you boil them too hard, they end up like tiny rubber balls (thanks for that lesson, younger me).
My personal hack: Reduce the heat to medium once you add the eggs — it keeps the bubbling situation friendly, not aggressive.
The sensory cue: You’ll know it’s ready when the water just gently bubbles. Not a raging boil, or you might as well toss your desires for jammy yolk into the pot.
Anecdote: I once left my eggs in the boiling water and forgot about them while I tried to multitask with a toddler. They turned out like little ping pong balls. No one wants ping pong eggs!
Step 2: Shocking the Eggs
After exactly 6 minutes (set your timer, people), transfer the eggs to an ice bath.
Why this step matters: Shocking them in ice water stops the cooking immediately, letting you keep that precious gooey center.
Common mistake here: People often skip this step and wonder why they end up with hard-boiled eggs — I did that once. Lesson learned.
My personal hack: I keep ice cubes in a bag ready to go for emergencies like this.
The sensory cue: You’ll feel the water’s chilly embrace when you drop in those hot eggs. It’s like a spa day for them.
Step 3: Make the Soy Sauce Marinade
In a mixing bowl, combine soy sauce, mirin, sugar, and a splash of water to mellow it out.
Why this step matters: This is where the magic happens. You want those eggs to soak up all the flavours.
Common mistake here: Adding too much sugar leads to an overly sweet mix that makes your eggs taste like dessert.
Personal hack: If you’re feeling fancy, add some chopped garlic and ginger to the marinade. It’s like giving your eggs a gourmet spa treatment.
Anecdote: My daughter, Sarah, was convinced I was making ‘egg candy’ the first time I added sugar. I still giggle at the image of her wide-eyed excitement.
Step 4: Peel Those Eggs
Now that your eggs have cooled, carefully peel them.
Why this step matters: A rough peel could lead to a white mess instead of the beautiful finish you want.
Common mistake here: People tend to peel them under running water, which can lead to soggy eggs.
My personal hack: Give yourself some time here. I usually pluck my eggs while binge-watching a show — yes, I multitask!
The sensory cue: If you hear a little ‘pop’ when you peel an egg, you’re on the right track!
Anecdote: I once had an egg refuse to peel properly and ended up sacrificing part of the white. That’s why I always have a backup plan for toast.
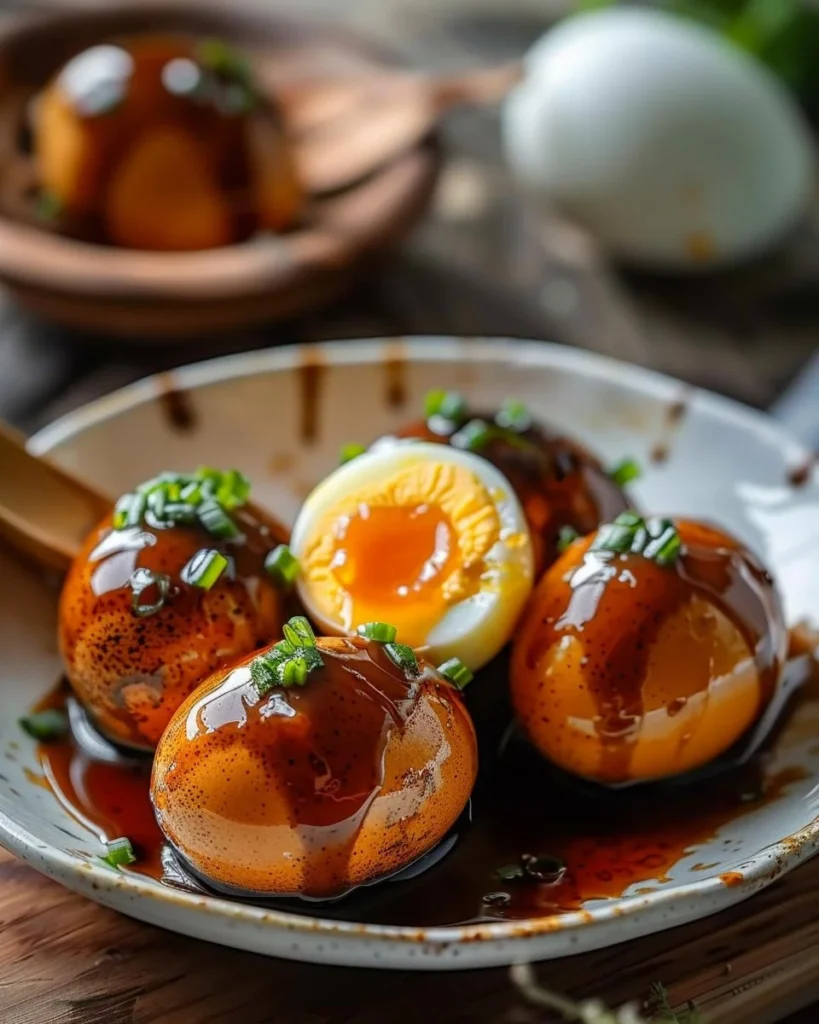
Step 5: Soak the Eggs
Place your peeled eggs in the marinade for at least 20 minutes, but I prefer to leave them overnight in the fridge if I can.
Why this matters: The longer you let them soak, the more intense the flavour.
Common mistake here: Trying to hurry this step. Just don’t.
Personal hack: If you have more eggs to soak, just double the marinade. It’ll keep for days in the fridge.
Anecdote: The first time I let my eggs soak overnight, I thought I’d ruined them. When I bit in, though? Heaven, I’m telling you.
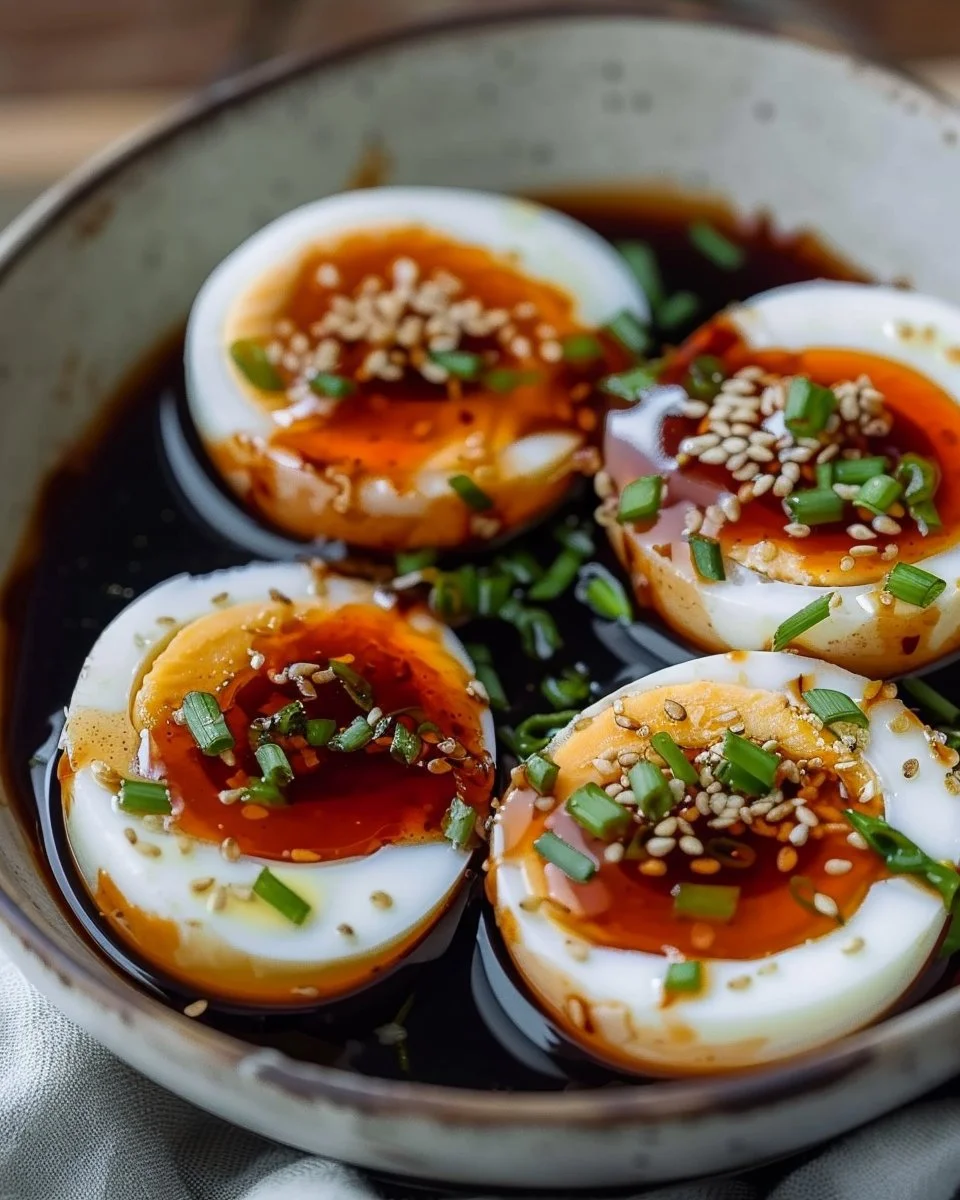
Step 6: Serve It Up
Once they’re ready, slice them in half and top with sliced green onions and sesame seeds.
Why this step matters: Presentation matters, folks! You eat with your eyes first.
Common mistake here: Forgetting to garnish. It just sounds so… unfinished.
Personal hack: Keep a small bowl of mixed seeds ready to sprinkle on any dish. It adds a punch of fancy.
The serving story: I serve these beauties on my grandmother’s vintage plates — gives me that warm fuzzy feeling every time I do.
Troubleshooting Real Life
- If you burn the bottom: You can salvage a bit of the soy sauce. Just don’t stir too hard; you’ll create a nightmare.
- If you’re out of mirin: A splash of white wine vinegar with a teaspoon of sugar does the trick.
- If you need to pause because a kid emergency occurs: Just stick the peeled eggs in the fridge. They’ll be safe for a couple of hours.
- If it’s just not working: Have a backup plan — toast w/smashed avocado works for life’s little curveballs.
The Serving Story
I usually serve these on Sunday mornings when I’m tired of the same boring routine. You know, after trying to dodge the breakfast clean-up from Saturday’s pancake making. We eat these while chatting about our plans for the week. I always joke that these eggs are the best thing to emerge from my kitchen since I learned to boil water properly. It’s a family affair with everyone giving their stamp of approval — even my picky eater, Jake, who usually gives everything a good sniff before declaring it “not for him.”
When I Make This
I make these on those Sundays when the sun is shining, and the kids are playing outside. While the eggs are soaking, I might take a few moments to fold laundry or sip that green tea while watching the world wake up around me. We typically eat at the kitchen table, but sometimes they dip right into the soy sauce bowl. Cleanup takes about 10 minutes, but honestly? It’s totally worth it for those “Ah-ha!” moments when we sink our teeth into those beautifully tender eggs.
The Conversational Close
These jammy soy sauce eggs have seen me through many a busy weekend, and while they might not always turn out perfect (who am I kidding?), I love knowing they hold a place in our family’s comfort food list. They remind me that even in the chaos of family life, there’s a bit of magic waiting to happen if we let it. I’d love to hear if you give them a try — tag me on social media or just enjoy them quietly while you find your groove. So tell me, what’s your go-to comfort food? Mine is this, hands down.

Jammy Soy Sauce Eggs
Ingredients
Method
- Bring a pot of water to a gentle boil.
- Reduce heat to medium and add the eggs.
- Boil for exactly 6 minutes.
- Transfer the eggs to an ice bath immediately.
- In a mixing bowl, combine soy sauce, mirin, sugar, and a splash of water.
- Carefully peel the cooled eggs.
- Place peeled eggs in the marinade for at least 20 minutes, preferably overnight.
- Slice the eggs in half and garnish with sliced green onions and sesame seeds.