Crystal Candy: A Sweet Adventure from Kitchen Fumbles to Family Joy
The first time I tried to make crystal candy, I stood in a sticky, flour-covered kitchen, and I did something I never thought I’d do: I cried. Not just a single tear rolling down my cheek (though I’m no stranger to that dramatic flair); this was full-on, “why is there sugar stuck to my face?” kind of sobbing. I could hear my kids giggling in the background, their laughter just adding to my meltdown as I stood there, starring at what looked more like a science experiment gone wrong than anything sweet and delightful. I’ll never forget my friend Molly walking in, taking one look at my disaster and saying, "Well, at least it’s definitely crunchy!” That was a solid ten years ago, and now, this crystal candy recipe is my go-to for when I need a moment of sweetness amid life’s chaos.
You see, crystal candy is more than just a sugary treat; it’s a symbol of perseverance, optimism, and a touch of whimsy. It’s what I whip out during holidays, after school events, or to surprise the kids when life feels a bit too much. Seriously, it’s like a warm hug made of sugar. If you’re looking to impress someone, fill a jar with this candy, and watch as they light up. Spoiler alert: they’d also look at you slightly confused when they find out how easy it is to make. But trust me on this—once you nail it, you’ll have a sweet little treasure to share with everyone around you.
Before we dive into the sticky, sweet goodness of crystal candy, let’s get practical—life’s too short for chaos-induced sugar meltdowns. Here’s what you need to know before you start.
Before You Start
-
If you only have granulated sugar instead of the fancy stuff, don’t sweat it—it’s what I always use. The only difference is that it won’t shine quite as brightly. You’re still going to enjoy candy, and you know what? That’s what really matters.
-
You’ll need a sturdy saucepan (trust me, don’t use that flimsy one you only pull out for boiling water—this isn’t a test of courage in the kitchen).
-
If your little ones decide to pop in for assistance, hand them a bowl of sprinkles as “candy decoration” duty. It keeps them busy and lessens the chance of a candy war in your mixing bowl.
-
Seriously consider your wine of choice to sip while you cook—I’ve had good luck with a cheeky little rosé! Makes the experience feel a touch more fancy, even if it is just candy.
Ingredients
- 2 cups granulated sugar (I always use the value brand—sugar is sugar, right?)
- 1 cup water (tap works; if it’s good enough for tea, it’s good enough for candy)
- 1 cup corn syrup (I’m telling you, it sounds fancy, but it’s just syrup that won’t give you any sass when you’re mixing)
- 1 tsp flavouring extract (vanilla, mint, or even something wild like lavender if you’re feeling adventurous! But let’s be honest, I’m usually Team Vanilla)
- Food coloring (optional, but why not have a rainbow in your candy?)
- A handful of sprinkles for those who need a bit of extra glamour (because who doesn’t?)
Step-by-Step Guide to Crystal Candy
Step 1: Combine the Ingredients
Okay, let’s be real. Pour 2 cups of sugar, 1 cup of water, and 1 cup of corn syrup into your sturdy saucepan. Now give it a gentle stir.
Why this step matters: You need to make sure all the sugar is well combined before heating it up to avoid those pesky sugar crystals.
Common mistake here: If you think you can skip stirring, you’ll end up with a hard candy brick instead of deliciously crystalline sweet bites. And trust me, we don’t want that.
My personal hack: Use a silicone spatula for easy mixing—it bends so you can get into those corners of the pot without a hassle.
A Tiny Story:
This is where my daughter Ella likes to jump in and ask if she can “help.” I hand her a bowl of sprinkles; she pretends they’re fairy dust while I do the serious mixing. She usually ends up tossing sprinkles into every corner of the kitchen! But at least it keeps us both entertained.
Step 2: Cooking the Mixture
Next, put the saucepan over medium heat and keep at it until it comes to a boil—about 10 minutes should do it.
The sensory cue: You’ll know it’s ready when it starts bubbling like a mini lava pit.
Common mistake: Don’t stir once it’s boiling—let it do its thing. Stirring can cause sugar to crystalize prematurely.
If you’re multitasking: This is the perfect time to sip your wine and watch a quick episode of a guilty pleasure show!
Step 3: Check the Candy Stage
Now we’re getting serious. You’ll want to keep an eye on it, and when it hits softball stage (about 240°F/115°C if you’re feeling like a precise candy maker), take it off the heat.
Why this step matters: If you’re off by a few degrees, you might be making fridge rocks instead of candy.
A tiny story: I once rushed this step and ended up with a very hard candy that even my teeth complained about. Spoiler alert: We ended up using it as doorstops.
Step 4: Adding Flavours and Color
Let the boiling mixture sit for just a minute. You’ll want to carefully stir in your chosen flavouring and a splash of food coloring. The key is to do this slowly.
My personal hack: Add the flavouring extract away from the heat—some extracts can be sensitive and lose their pizzazz if you’re not careful.
This is also where you can get creative. If you want lavender crystal candy, now’s the time to sprinkle that magic in.
Anecdote:
This was the point in my early attempts when I tried 15 different flavors in a single batch. Can you imagine the confusion? My kids landed on “What are we tasting now?” You’d think it was a weird cooking game show!
Step 5: Pour and Cool
Now grab a baking dish lined with parchment paper (this is where you’re cheating to make cleanup easier). Carefully pour in the candy mixture, and let it cool at room temperature. Patience is key here.
Common mistake: Don’t put it in the fridge thinking it’ll cool faster. The fridge can actually take moisture from the air and ruin your candy!
Step 6: Breaking It Up
Once it’s fully cooled—try to resist the urge to poke it a million times—break it into small pieces. You can do this with your hands, or opt for a hammer on the back of a baking dish. Just stay clear of any accidental candy warfare!
A tiny story: The first few times, I was far too gentle with breaking it apart. I ended up with globs instead of pretty shards. Now, I take my frustration out on it—it’s surprisingly therapeutic.
Troubleshooting Real Life
- If you burn the bottom: Pour the mess out and plan a re-do, or embrace the crunchy candied bits as an “add texture” feature.
- If you need to pause mid-process because someone decided to showcase their latest dance move and knocked over the flour: Cover the pot with a lid and turn off the heat. The candy won’t set just yet, but it won’t burn either.
- If it’s just not working: Pour the sticky mess back into the saucepan, add a splash of water, and reboil gently. You’ll need to recheck that temperature step and be cautious!
Serving Story
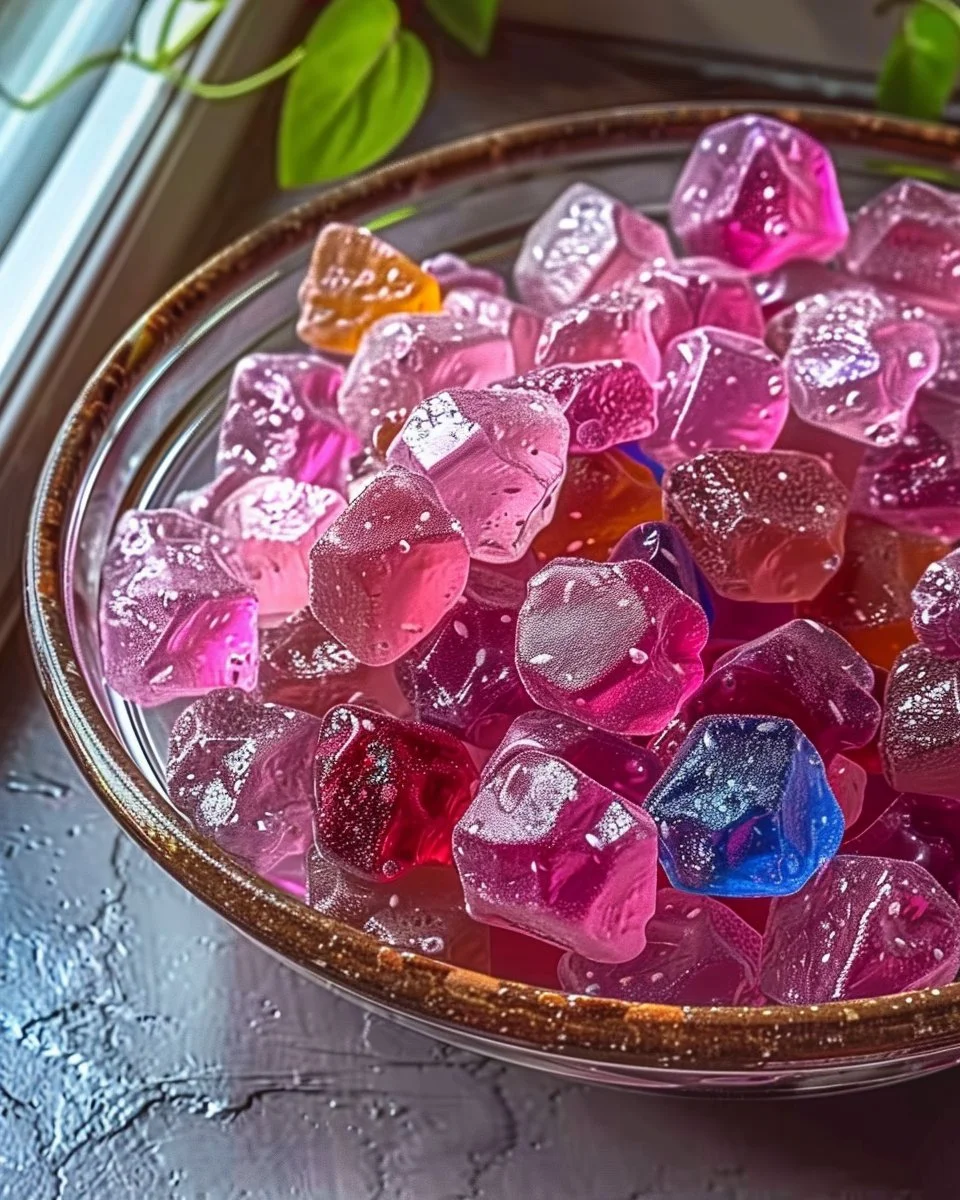
I usually serve this in an old glass jar—that’s my tradition. There’s something about looking at candy through glass that feels magical. The flavours always come together in a way that makes you want to show it off, even if it is just for a crowd of five at home.
While the kids love it straight from the pan (who are we kidding, sometimes it ends up eaten while still warm), I love rearranging it in patterns and pretending I’m a real candy artist. The cleanup might take a extra 10 minutes, but it’s entirely worth paying homage to the magical stuff you’ve just created.
When I Make This
I usually pull this out of the recipe drawer on rainy days when we’re stuck indoors—this is a great way to combat that gloomy weather. When the oven’s not an option for a weekend treat, and your mood definitely needs a boost, this is the answer.
While it cooks, I engage in our usual chaotic routine—jumping from folding laundry to answering texts to staring at my fridge in culinary dismay, wondering if I should really whip out leftovers instead.
We inevitably end up huddled with these little shards of sweetness on the couch, watching old movies or… (let’s be honest, you guessed it) simply enjoying the moment together.
Conversational Close
This crystal candy recipe has become my little secret over the years. It has seen me through school projects gone awry, restless afternoons, and even the occasional last-minute gift.
I’m not gonna lie—I still have my challenges with it. It feels like I’m getting it back from stubborn candy refusals every few batches, but that’s what makes it character-building, right?
I’d love to hear if you make it. Tag me on social or share your results—let’s enjoy it together, even if it’s in spirit. What’s your go-to comfort candy recipe? Mine changes a lot, but right now, it’s definitely this.
I hope you found a bit of joy in the chaos that can come with making crystal candy. It’s all about those sweet moments, isn’t it?

Crystal Candy
Ingredients
Method
- Pour 2 cups of sugar, 1 cup of water, and 1 cup of corn syrup into a sturdy saucepan and stir gently to combine.
- Place the saucepan over medium heat and allow it to boil for about 10 minutes.
- Once it starts bubbling, do not stir.
- Monitor the mixture until it reaches softball stage (240°F/115°C) and then remove from heat.
- Let the boiling mixture sit for a minute, then carefully stir in your flavoring extract and food coloring.
- Pour the candy mixture into a baking dish lined with parchment paper and let it cool at room temperature.
- Once cooled, break the candy into small pieces, freeing yourself from any accidental 'candy warfare' with a hammer if necessary.