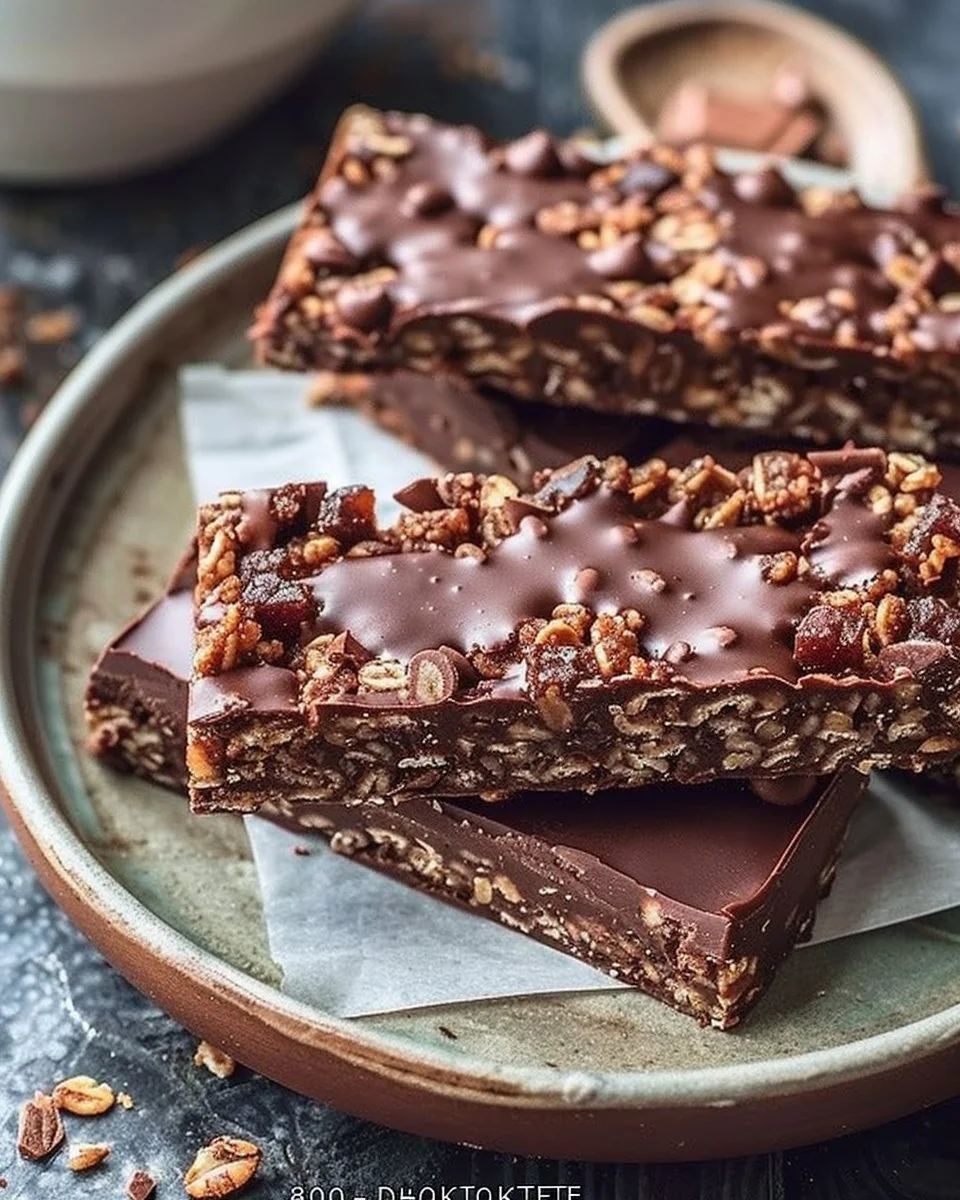
No-Bake Wonders: The Secrets Behind My 3-Ingredient Gluten-Free Chocolate Crunch Bars
The first time I tried to make these chocolate crunch bars, it was a complete disaster. I’m not even exaggerating. Picture this: I’m standing in my tiny kitchen (the one with more mismatched utensils than anything resembling a matching set), and all I wanted was a sweet treat after a long week of wrangling kids and my never-ending laundry mountain. Well, instead of a glorious chocolatey dessert, I ended up with a gooey mess that stuck to everything—my countertops, my hair, even my favourite dog’s nose. Just think of it as a sticky (and slightly traumatic) moment forever engraved in my mind.
My friend Penny dropped by right in the thick of it, took one look at my chocolate-covered self, and said with a smirk, “You know, some people say cooking is like love. You’ve got to really get in there.” She was totally right, although I may have overdone my enthusiasm just a tad. Anyway, after I calmed down and cleaned up, I finally nailed these bars. Now, they’re my go-to whenever I need something quick, gluten-free, and utterly delightful. Trust me: they really do have the power to turn a bad day around.
Why This Matters
These bars aren’t just a teetering pile of chocolate crunch; they’re a solution to that nagging craving that always seems to pop up when you’ve got ten million other things to do. You know that moment when the kids are screaming, and you just need a quiet two minutes with something chocolate? Or when it’s Friday night and takeout feels like a stretch on the wallet? These bars are for those moments. They say “I’m here for you” without being dramatic or time-consuming. Just stir, set, and enjoy. Easy peasy, lemon squeezy—or in this case, chocolatey crunch er…
Before You Start
- Ingredient Swaps: Don’t have almonds? Pecans work just as well. Seriously, trust me on this. They’re basically interchangeable in my world, and it’s one less trip to the shop!
- Essential Tools: All you really need is a bowl and a spatula. If you have a rubber spatula (the one that’s probably stuck behind that bag of flour), use it. It makes scraping chocolate out of the bowl a million times easier.
- Handling Meltdowns: Got toddlers around? (I hear they come with their own sound effects.) Just set aside a bit of the chocolate mix for them to “help” with—trust me, it’s a lifesaver and keeps them occupied for about seven and a half minutes.
- Best Beverage Pairing: Wine isn’t the best idea during this recipe (you need your wits about you), but I recommend a nice cup of tea. It can act as your calm in the chocolate storm.
Ingredients List
- 200g dark chocolate (I always use Cadbury because nostalgia, but choose your poison)
- 100g puffed rice (gotta love those crunchy bits; any brand will do)
- 50g chopped nuts (almonds are stellar for this, but again, go wild with whatever you’ve got)
Step-By-Step
Step 1: Melt the Chocolate
Pour your chocolate into a microwave-safe bowl and zap it in 30-second intervals until it’s silky smooth.
Why this step matters: Melting chocolate slowly prevents it from seizing up. That’ll save you from a clumpy situation—trust me, it’s not fun!
If you’re multi-tasking (like folding laundry or dodging a child’s “mummy, look!”), this is the easiest way to do it.
Personal hack: I always add a splash of coconut oil or butter into the mix to keep it glossy. It elevates the mouthfeel, as fancy folks say.
My personal anecdote? I once tried melting chocolate over the stove. Let’s just say it involved a lot of “oh no, what’s burning?” panic, followed by a hefty clean-up bill. Spoiler: go for the microwave.
Step 2: Mix in the Rice and Nuts
Once your chocolate is melted, throw in the puffed rice and chopped nuts. Stir till you can’t see any chocolate left standing. The colour should be a luscious, glossy brown.
Why this step matters: Getting everything coated means every bite is just as delicious as the next. You don’t want dry bits—you want all-out chocolate glory.
This step is where the mischief begins. I remember my son’s first attempt at stirring in the rice. Let’s just say we had more rice on the floor than in the bowl, and he was giggling so hard he nearly fell over.
Step 3: Set the Bars
Line a small baking tin with parchment paper and pour your crunchy mixture into it. Press it down firmly (use your hands or a spatula).
Common mistake here: If you don’t press it enough, the bars will crumble apart later. So really get in there—um, but maybe wash your hands first.
I’ve got to admit, I may have muttered something about needing a workout as I pressed down on the mixture because wow, it needs some elbow grease. But when the chocolate sets, it’s all worth it.
Step 4: Chill
Stick that tin into the fridge for at least an hour.
The sensory cue: You’ll know they’re ready when you can’t resist reaching into the fridge for “just one more” piece.
While you wait, put your feet up—maybe watch something or engage in a little “I totally don’t need to do anything else” series binge.
Troubleshooting Real Life
- If it’s too crumbly: Honestly, just melt a bit more chocolate and mix it in. It’s like a chocolate glue.
- If you run out of nuts: Just go sans nuts; it’s still a chocolate treat.
- Need to pause?: If you hear a familiar “Mum!” coming from the other room while your bars are setting, just zap them in the fridge for a bit longer—that extra chill time is always a bonus.
Serving It Up
I serve these in wee little parchment-paper “clutches” because, let’s face it, everything looks more sophisticated that way. But let’s be honest, sometimes we just dive straight into the tin. It’s the kind of dessert that wears its casualness proudly.
The perfect side? More chocolate, obviously, but you could pair these with fruit if you want to feel healthy. I mean, they’re still chocolate at heart, so we’re not fooling anybody here!
When I Make This
I usually whip these up on a Saturday morning, right when I know the kids are still in bed, and I can pretend to be a fully functioning adult. While the chocolate sets, I’ll often fold some laundry or mentally prepare for my week. They keep well, so seemingly a bonus because they’re packaged neatly for snacks throughout the week.
The cleanup? It takes maybe ten minutes, but if I’m honest, it’s the charm of knowing I’ve got something delightful to nibble on when the post-school pick-up chaos ensues that makes it all worth it.
Conversational Close
These chocolate crunch bars have seen me through countless late-night drives back from school functions, elbow-deep in homework woes, and unexpected guests who needed sweet consolation. They might not be gourmet, but they are mine—and I wouldn’t change a thing.
So, what’s your go-to kitchen quick fix? I’d love to hear it! Tag me if you give these a whirl, or just enjoy a moment of your own chocolatey bliss in peace.
And remember, if things get sticky, well, that’s part of the fun, right?
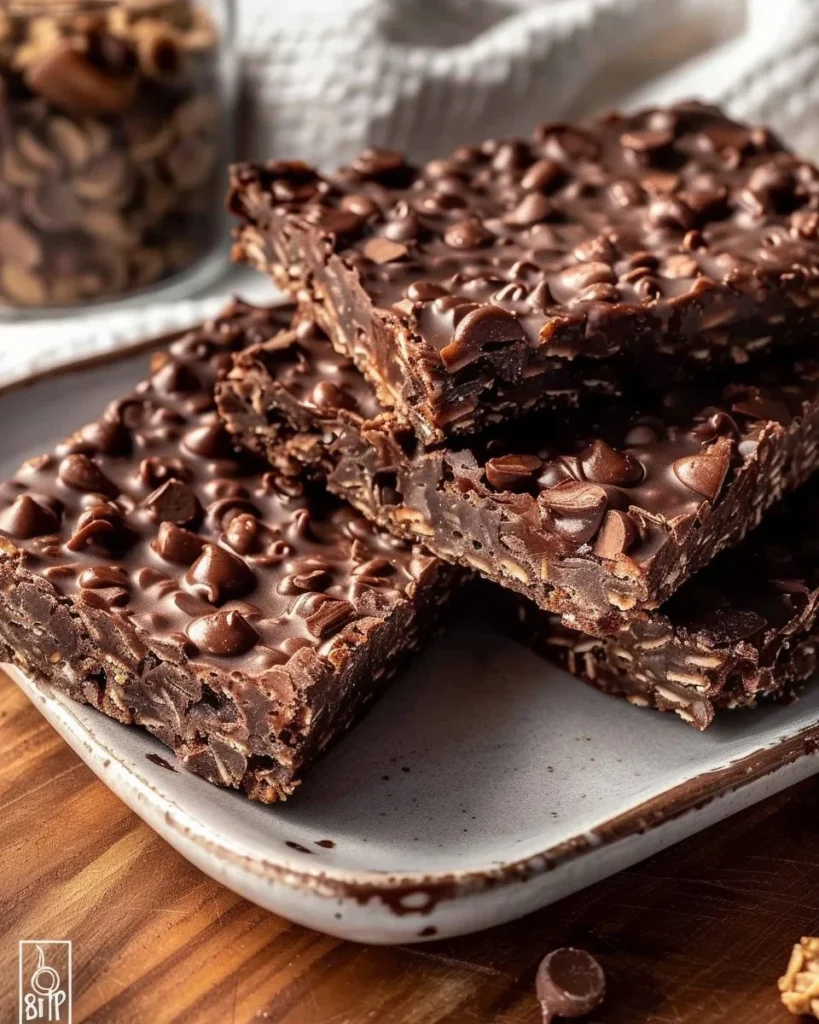
3-Ingredient Gluten-Free Chocolate Crunch Bars
Ingredients
Method
- Pour your chocolate into a microwave-safe bowl and heat in 30-second intervals until melted and smooth.
- Once the chocolate is melted, mix in the puffed rice and chopped nuts until completely coated.
- Line a small baking tin with parchment paper and pour the mixture into it. Press down firmly to compact.
- Chill in the fridge for at least an hour until set.