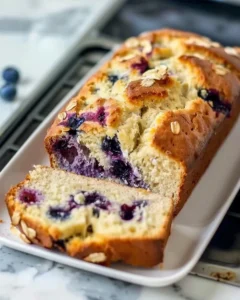
Back-to-School Blueberry Bread: A Sweet Summertime Send-off
The first time I baked blueberry bread, it was a hot summer day, and I was knee-deep in back-to-school chaos. My youngest, Ella, had just spilled an entire box of cereal all over the kitchen floor, and the last thing I wanted to deal with was a new baking project. But, as usual, I found myself cradling a hand mixer in one hand and desperately scraping the cereal off my slipper with the other. That’s when I remembered my dear friend Lucy had raved about this blueberry bread recipe. I was convinced I’d make something edible only after a few mishaps, but hey, it was either that or order another round of overpriced takeout.
As I tried to mix both the chaos of the kitchen and the ingredients, I couldn’t stop laughing. I mean, it was a full-on sitcom moment—flour everywhere and my hair sticking out in weird directions like I’d just gone through a wind tunnel. But somehow, by sheer will of the universe and maybe a bit of luck, it turned out to be the best thing I’d baked in ages. Fast forward to now, and I make this blueberry bread as summer gives way to the school year. It’s the kind of recipe you want to have on hand when you’re feeling both nostalgic about lazy summer days and anxious about the bustling school routine ahead.
Why This Matters
Let’s be real: back-to-school season can hit like a freight train, am I right? It’s a gorgeous time of year filled with promise, yet it can also feel like you’re juggling flaming batons while trying to dodge the occasional toddler tantrum. This blueberry bread isn’t just a recipe; it’s comfort food that warms the soul while also slyly sliding into lunchboxes. This is what you whip up when you need a moment of zen amidst the chaos, or when you want to lure your kids back into the kitchen (trust me, cinnamon sugar on top helps!).
Before You Start
- If you only have frozen blueberries instead of fresh, go ahead and use them. Just toss them in a bit of flour to keep them from sinking to the bottom.
- One essential tool? A good loaf pan. Trust me: The last thing you want is for your bread to stick and basically cling to the pan like a toddler to their favorite toy.
- If your kids start bickering halfway through, just turn on a fun song and get them involved. Little hands can help mix in the blueberries. At least you can pretend it’s teamwork!
- Need a sip while you bake? I recommend a glass of iced tea or a cheeky rosé—also refreshing!
Ingredients List
- 2 cups all-purpose flour (Swear by the Tesco brand; it’s always reliable)
- 1 tsp baking powder (Don’t overdo it, or you’ll get a crazy dome on the bread)
- 1/2 tsp baking soda (This is the secret that adds a little extra lift)
- 1/2 tsp salt (I use sea salt; it gives it just the right kick)
- 1/2 cup unsalted butter, softened (Guess what? Works just as well with margarine, if you’re out of butter)
- 3/4 cup sugar (Or you can opt for what I call “a bit less sugar if you’re feeling virtuous”)
- 2 large eggs (The large ones, please. Helps with volume)
- 1 tsp vanilla extract (Although, the secret nobody tells you is that it’s easier to find the cheap stuff at the local store)
- 1/2 cup Greek yogurt (Or sour cream if you’re feeling like a rebel)
- 1 1/2 cups fresh blueberries (See kitchen hack earlier if using frozen!)
- Optional: Zest of one lemon (Adds a fresh zing, but only if you’re up for a bit of zesting)
Step-by-Step with Stories
Step 1: Preheat Your Oven
Preheat your oven to 350°F (that’s about 175°C for my UK friends).
Why this matters: Heating the oven properly ensures your blueberry bread bakes evenly.
Common mistake here: Forgetting to preheat leads to flat, sad bread.
My personal hack: I always set the timer for 10 minutes before I start prepping. Who has time to waste when you’re in a baking frenzy?
The sensory cue: You want it to feel nice and warm when you open that door.
Step 2: Mix Dry Ingredients
In a bowl, whisk together flour, baking powder, baking soda, and salt.
Practical instruction: Stir them together until it looks like a sandy beach without the tiny umbrella drinks.
Why this step matters: Combining these ensures even distribution and no lumps at the end (yuck).
Anecdote: Back when I started out, I’d dump everything in willy-nilly and hope for the best. Learn from my mistakes—lumps are not your friend.
Step 3: Cream the Butter and Sugar
In a large bowl, beat the softened butter and sugar until it looks fluffy and creamy—like a cloud!
Practical instruction: You’re aiming for a light, aerated mix; the best bit? This is where the kitchen starts smelling like heaven.
Common mistake here: Assuming your butter is at room temp. If it’s cold, you’ll end up with gritty mix, and I’m not talking about the good kind.
Anecdote: I was once so impatient that I tried melting the butter in the microwave… let’s just say, “melt” and “explode” can sometimes be synonymous.
Step 4: Add Eggs and Vanilla
One by one, add in your eggs and sing a happy tune as you pour in the vanilla.
Why this matters: These add moisture and bind everything together.
Common mistake: Forgetting the eggs. Once, I proudly presented eggless cookies, and my kids just sort of stared at me like they were trying to decode an alien language.
My personal hack: Crack eggs into a small bowl first. I learned the hard way—no one wants to fish out shell bits!
Step 5: Mix in the Greek Yogurt
Stir in the Greek yogurt till well incorporated.
Why this matters: It adds moisture and tang—trust me; your taste buds will thank you.
Anecdote: My brother-in-law once asked if he could replace it with mayonnaise. No, just no.
Step 6: Combine Wet and Dry Ingredients
Gently mix the dry ingredients into the wet mix.
Practical instruction: Don’t over-mix. Just stir until all the flour is gone; lumps are okay and even encouraged. Machine mixing can lead to tough bread, and we’re not making hockey pucks here.
Why this step matters: It prevents you from ending up with a gluten-toughened loaf.
Step 7: Fold in the Blueberries
Gently fold the blueberries in.
Common mistake: Overmixing will burst the berries, and you’ll end up with the bread looking like a blueberry massacre.
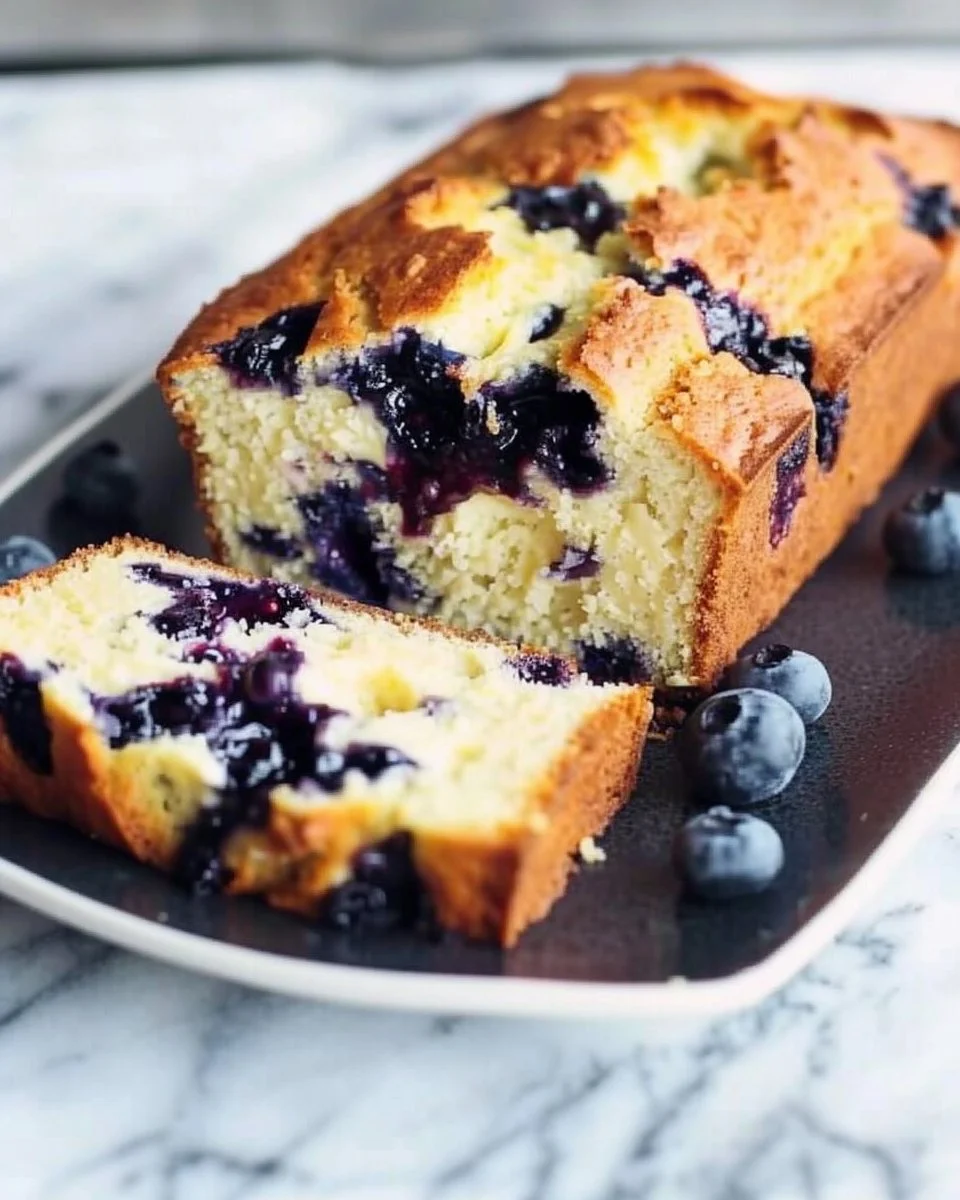
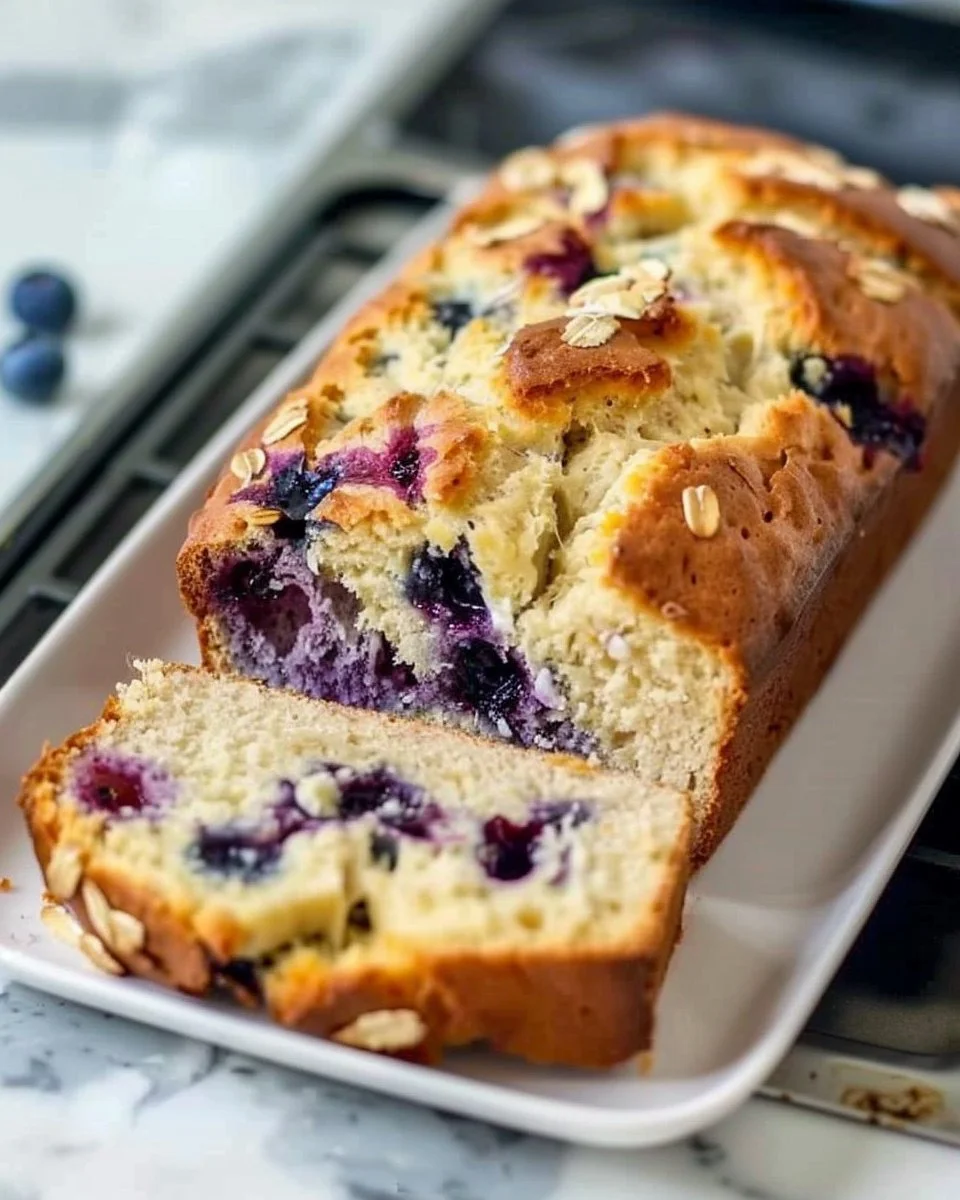
The sensory cue: You know you’re there when it’s a lovely, swirly purple with those glistening berries peeking out.
Step 8: Pour and Bake
Pour the batter into the loaf pan, and smooth the top.
Practical instruction: Give the pan a little jiggle—it makes me feel like I’ve really done something.
Common mistake: Overfilling the pan. I do not have the carpet-cleaning bill handy if you overflow.
Step 9: Bake Away!
Pop it in the oven for 50-60 minutes, and go grab that glass of iced tea.
Common mistake: Not checking the loaf after 50 minutes. I once turned my back and set a timer for “too long.”
My personal hack: To test if it’s done, stick a toothpick in the centre; it should come out clean. You know you’ve got it right when your house smells like a little bakery!
Troubleshooting Real Life
- If you burn the top, just cover it with foil and lower the heat. One year, I learned this tactic the hard way while trying to entertain my mother-in-law.
- Out of blueberries? Chopped strawberries or even raspberries are a great substitute. One time, I used whatever was leftover in the freezer; it turned out to be a berry medley!
- If you need to pause for a kid emergency, just take it out, let it cool, and resume once they’ve been settled down.
- Honestly, if it’s just not working, there’s always takeout, but I might be biased on that one.
Serving Story
I like to serve this in a cozy, giant bowl because who doesn’t love more comfort food in unexpected ways? Sometimes, my kids get fancy and serve it topped with a little butter or cream cheese. Mostly, though, we eat it straight from the pan like a family of classy barbarians. I mean, who has time for plates when there’s laughter and crumbs everywhere?
When I Make This
I usually bake this on Sunday evenings while I watch whatever cooking show is in the rotation (is anybody else addicted to those?). While it bakes, I’ll fold laundry—which, if you ask my kids, seems more like a competitive sport than a chore. We eat it warm and snuggled up together at the kitchen table, perhaps with some homemade latte if I’m feeling like a domestic goddess. Cleanup takes about ten minutes, and I’ll admit, there’s satisfaction in seeing a used but happy kitchen.
The Conversational Close
This blueberry bread has been a staple in our home, pulling us closer together through hectic weeks and the pressure of new school routines. It’s not perfect, but the love behind it definitely makes up for that minor flaw. I’m telling you, make this and watch the smiles spread across your family’s faces.
So how about it? I’d love to hear what your go-to comfort food is. For now, mine will always be this blueberry bread.
Now, go on, get baking!
FAQ
Can I use frozen blueberries?
Absolutely! Just toss them in flour first to keep them from sinking.
What can I substitute for Greek yogurt?
Sour cream works really well or even just regular yogurt in a pinch!
How long does the bread last?
It’s best enjoyed fresh, but if you can resist, it keeps for about three days on the counter in an airtight container.
Do I have to add lemon zest?
Nope! But if you want a zingy twist, it definitely elevates the flavor.
Can I add nuts?
Sure thing! Walnuts or pecans would work nicely if you want a little crunch.
There you have it, friends. Dive into that berry goodness, take a deep breath, and enjoy some sweet moments amidst the busy days ahead!

Blueberry Bread
Ingredients
Method
- Preheat your oven to 350°F (175°C).
- Whisk together flour, baking powder, baking soda, and salt in a bowl.
- In a large bowl, beat the softened butter and sugar until fluffy and creamy.
- Add the eggs one by one, singing a happy tune as you pour in the vanilla.
- Stir in the Greek yogurt until well incorporated.
- Gently mix the dry ingredients into the wet mix.
- Fold in the blueberries gently to avoid bursting them.
- Pour the batter into a greased loaf pan and smooth the top.
- Bake for 50-60 minutes or until a toothpick inserted comes out clean.