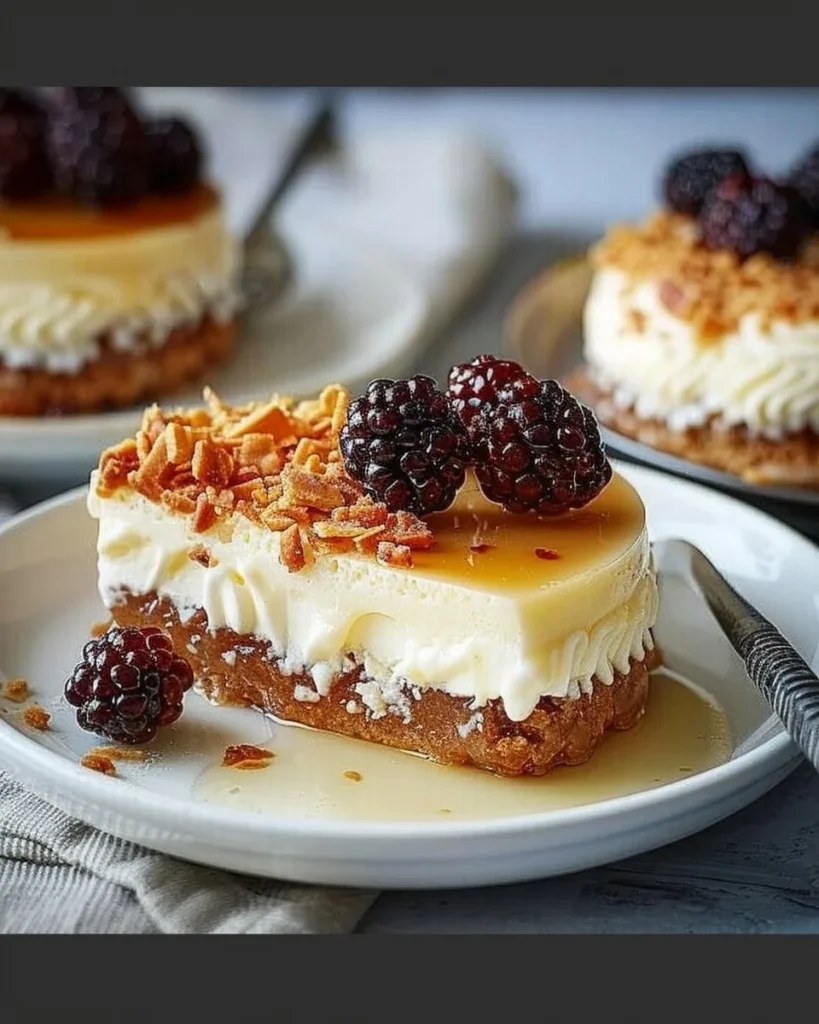
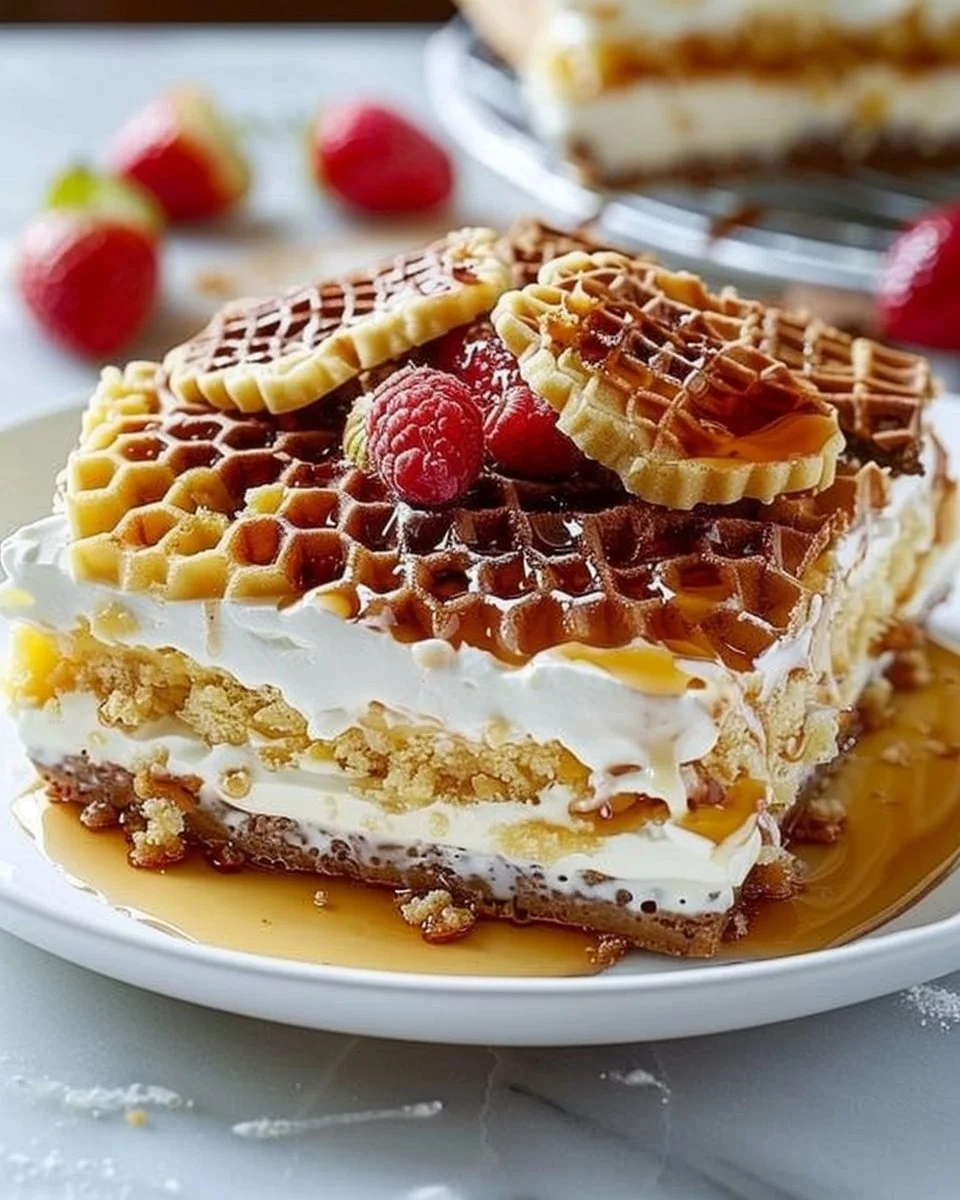
Baked Desserts: Sweet Comforts Straight from My Kitchen
The first time I tried making baked desserts for my family, I learned a couple of hard lessons. There I was, face-deep in flour and sugar, convinced that surely, I’d whip up something magical. I mean, how hard could it be, right? It was just a batch of cookies. But as it turns out, there’s a fine line between cookies and cookie crumbles. Flour launched into the air like it was auditioning for a role in a cooking show and my eldest—bless her heart—just stared at me wide-eyed, probably plotting my demise for ruining her hopes for dessert. Full-on, cartoonish, hands-on-hips disaster. I’ll never forget my friend Carol walking in, taking one look at the flour-dusted chaos, and saying with her deadpan humour, “Well, at least it’s a new form of abstract art!”
Fast forward to today, I’m proud to say those early baking blunders turned into sweet successes. This isn’t just about baking; oh no. This is about creating cherished memories when everything feels upside down. When I make these desserts, it’s not merely for the taste — it’s about the joy they bring my family, especially in those moments when we’re gathered for movie night, waiting for the results of another failed school project, or just needing a hug in the form of food.
Why This Matters
These baked desserts are what I whip up when life gets a bit too real. You know those days when nothing seems to go right, and you just need a little something to lift your spirits? Maybe it’s to celebrate the weekend, or maybe you just need to drown out the chaos with the smell of something delicious wafting from your oven. Trust me, this is what you want to make when you can’t figure out what to do with yourself and your emotions.
Before You Start
-
What if you forget to take your butter out of the fridge? If you’re in a pinch, you can quickly soften it by cutting it into cubes and zapping it in the microwave for about 10 seconds. Just don’t let it melt – I’ve done that too. Oops.
-
The one tool that makes this so much easier: A simple whisk. I’ve tried fancier gadgets, but honestly, nothing beats a good old whisk. Trust me, it’s probably hiding in the back of your drawer.
-
Got hungry kids? If the little ones start to melt down while you’re whipping this up, have a bowl of random nuts and dried fruit ready. It’ll keep them busy enough to let you finish what you’re doing without having to pull out your hair.
-
Wine infusion? When it comes to comforting bakes, I say pour yourself a glass. It makes everything taste better, right? If it’s too early for that, herbal tea works too.
Ingredients
Here’s what you’ll need for these lovely baked desserts. Remember, these are just guidelines; feel free to adjust based on your preference!
-
1 cup unsalted butter, softened (I use the basic supermarket brand because who can tell the difference?)
-
2 cups sugar (It’s like hugging your arteries, but we only live once, right?)
-
4 large eggs, at room temperature (I keep mine on the counter for baking since I can’t trust my kids not to crack them all in one go.)
-
3 cups all-purpose flour (I once tried whole wheat; let’s just say my family wasn’t ready for that kind of change.)
-
1 tsp baking powder (The magic ingredient – don’t skimp on this one!)
-
1/2 tsp salt (To balance everything out, you know?)
-
1 cup chocolate chips (I splurge a bit here on the semi-sweet ones. I’m convinced they’re the key to happiness.)
-
Optional: nuts of your choice (1 cup, chopped) (Walnuts are my go-to because they remind me of my Grandma Betty who slipped them into everything.)
Step-by-Step Instructions
Step 1: Preheat the Oven
Preheat your oven to 350°F (175°C). I’m not gonna lie; I often forget this step and then curse myself when the batter runs into a hard time in the oven.
Insight: Preheating helps the baking process kick off right. It ensures that your treats don’t end up shaky and confused like I was at that first baking attempt.
Anecdote: When I moved to my current house, I made the rookie error of thinking the oven was accurate. Just trust me, it was anarchy in cake land for a while.
Step 2: Cream Butter and Sugar
In a big mixing bowl, cream together the softened butter and sugar until it’s fluffy and light. You’ll know it’s time when you can fluff it with a spatula but avoid looking like a flour cloud exploded all over you.
Insight: The sugar helps to aerate the butter, leading to a light texture in your final baked goods.
Anecdote: This is the moment when my teenager usually peeks in the kitchen, hoping there’s some raw dough he can sneak. I let him have a spoonful—and then wonder why it never makes it to the oven.
Step 3: Add Eggs
Crack in your eggs, one at a time. Mix well after each addition. Trust me, it’s worth your patience.
Common mistake: If your eggs aren’t at room temperature, you might end up with a greasy mess.
Anecdote: This was the moment I learned that perhaps I should get a backup plan if my kids have any friends over. I don’t want a yolk fight breaking out in my kitchen!
Step 4: Mix the Dry Ingredients
In another bowl, whisk together the flour, baking powder, and salt. Slowly incorporate this into the wet mixture.
Personal hack: Sifting the flour first can save you from biting into chunks of flour when it’s too late – trust me on this one.
Anecdote: My grandmother’s old wooden spoon makes its appearance here. She used to say that using a wooden spoon imparts something extra—whatever that is. I have no clue, but I’ve always done it that way.
Step 5: Add the Chocolate Chips
Now it’s time to fold in those lovely chocolate chips and any nuts if you’re using them.
The sensory cue: You’ll know it’s ready when you see all those little bits of chocolate peeking through like shiny diamonds.
Anecdote: My youngest always begs for double chocolate, which makes me roll my eyes. And yet, somehow, here we are.
Step 6: Bake Away
Spoon the batter into a greased pan (or lined with parchment). I usually take the easy way out with disposable pans, saving my sanity with the cleanup.
Insight: Bake for about 25-30 minutes. You’ll want that golden crust.
Anecdote: I set a timer and arrange my family into a strict “no opening the oven door” policy. You’d think I was baking a soufflé the way I react.
Step 7: The Most Important Step—Cool!
Let your baked goodness cool in the pan for about 10 minutes, then transfer it to a wire rack.
Troubleshooting: If your dessert doesn’t come out cleanly, it’s okay. Just recite your household cheer: “It’s still gonna taste good even if it looks like a hot mess!”
Step 8: Serve it Up
Serve these baked beauties with a scoop of vanilla ice cream or even a dollop of whipped cream. I always pull out the pretty plates for my family, though on hectic days it ends up on whatever’s closest.
The serving story: I like to serve these in my favourite mismatched bowls from flea markets because food just tastes better when it feels special, don’t you think?
Step 9: Relish the Moment
I usually bake these on Friday evenings. They’re perfect for winding down after a long week. While they cool, I just might call my sister or plan what movie we’re going to watch while enjoying these treats.
The family time: We eat these on our coffee table, nestled amongst blankets, reluctantly fighting over the last piece. Cleanup takes longer than I’d care to admit, but trust me, it’s worth it when everyone’s raving about the dessert.
When I Make This
You might spot me whipping these up on a Sunday afternoon as preparation for the week ahead. I toss in some of my unique twists (chocolate chunks, anyone?) and am reminded of the chaos of my early baking days.
Sometimes while I bake, I flip through old photo albums. Those moments wash over me like the sweet scent of melted chocolate. Life’s moments captured over a bowl of cookie dough.
Troubleshooting Real Life
-
If you burn the bottom: Don’t panic. Allow it to cool and then cut off the burnt edges.
-
What if it’s too dry? Crank up the sweetness a notch with some melted butter or even a drizzle of chocolate sauce.
-
If your kids won’t stop interrupting: Have them help with the stirring—trust me, it can make a world of difference in keeping them entertained.
-
If it’s just not working: Maybe it’s time for a cheeky takeaway because, well, life can be like that sometimes.
Conversational Close
So, this recipe? It’s been there through school presentations, big birthdays, and countless family movie nights. It’s not just food; it’s a hug in dessert form. I’d love to hear if you try it – might even spark your own kitchen debacles. Remember, what’s your go-to comfort food? Mine changes, but right now, it’s this. Happy baking, my fellow kitchen warriors!


Comfort Baked Desserts
Ingredients
Method
- Preheat your oven to 350°F (175°C).
- Cream together the softened butter and sugar until fluffy.
- Crack in the eggs one at a time, mixing well after each addition.
- In another bowl, whisk together the flour, baking powder, and salt. Gradually incorporate this into the wet mixture.
- Fold in chocolate chips and any nuts if using.
- Spoon the batter into a greased pan and bake for about 25-30 minutes.
- Allow the baked goods to cool in the pan for about 10 minutes before transferring to a wire rack.
- Serve with vanilla ice cream or whipped cream.
- Enjoy the moment with family while watching a movie together.