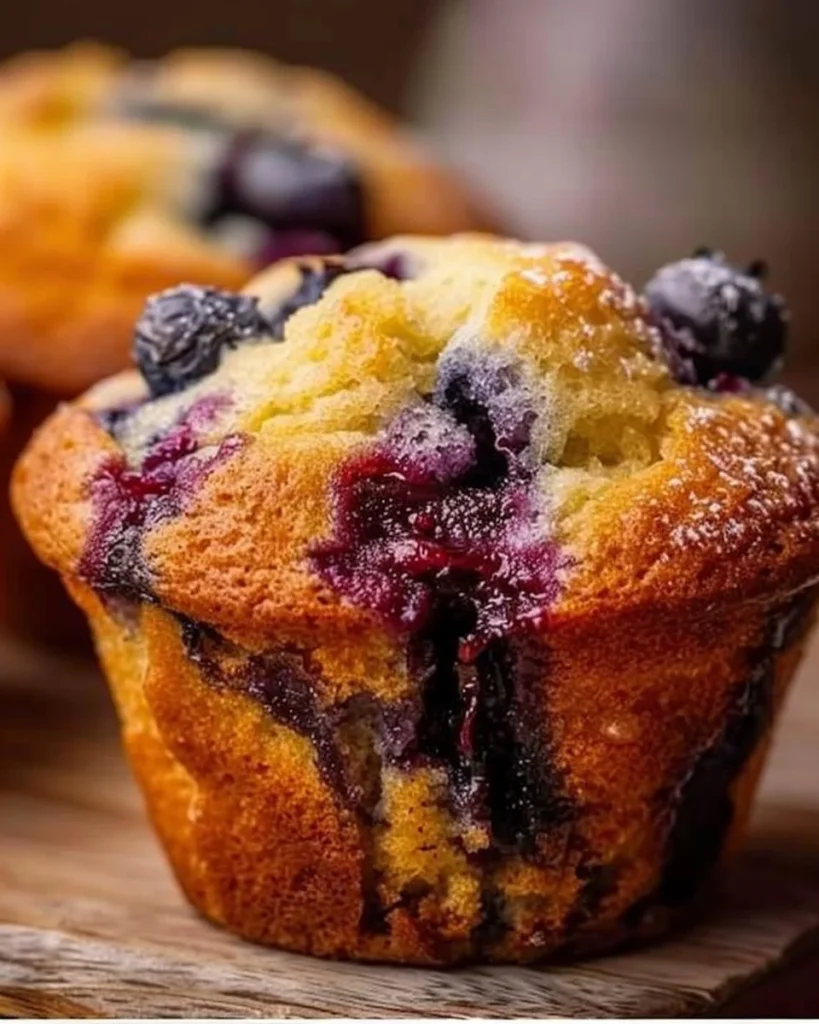
Moist Sourdough Blueberry Muffins: A Journey of Flavour and Love
The first time I tried to make blueberry muffins, I was convinced I’d unlocked a culinary secret all the best bakers kept close to the chest. I mean, how hard could it be, right? Flour, sugar, blueberries–straightforward enough. But picture this: a toddler tantrum over a toy that had mysteriously vanished (turns out it was under the couch), a cat with a penchant for stealing butter wrappers, and, worst of all, I suddenly realised I had no eggs. So there I was, standing in my kitchen, smeared with flour and butter (seriously, how does that happen?), when my friend Megan walked in, took one look at the semi-baked disaster that was crumbling on the countertop, and said, “You know, it’s not about perfection; it’s about creating memories.” Those words stuck with me.
That was my “kitchen disaster” revelation about four years ago, and now this moist sourdough blueberry muffins recipe is my go-to for when life feels overwhelming. Whether it’s a gloomy autumn day that begs for warmth or a spontaneous gathering with friends, these muffins deliver comfort and sparkle. So, let me save you from that cringe-worthy first attempt and show you how to create bakehouse magic in your own home.
Why This Matters
Here’s the thing: sometimes, life is just a little chaotic, and we need a recipe that doesn’t just fill our bellies but also warms our hearts. These muffins say “I care” without being pretentious or overly complicated. There’s a whiff of nostalgia in each bite, bringing back lazy Sunday mornings where we linger over breakfast instead of rushing out the door. They’re also a brilliant way to use up that sourdough starter you’ve been nurturing (or postponing to use). Plus, let’s face it, they offer a bit of joy in a world that sometimes feels like it’s lost its flavour.
Before You Start
- If you only have all-purpose flour instead of whole wheat, here’s what happens: you’ll get a lighter muffin, but the flavour won’t be quite as deep. Feel free to swap.
- The one tool that makes this infinitely easier (and I promise it’s probably in your drawer) is a sturdy spatula. It’ll make folding in the blueberries a breeze.
- What to do if your toddler starts melting down at step 3 (speaking from experience): have a small bowl of blueberries ready for them to “help” you with. They’ll love it, and honestly, it’ll keep them occupied.
- For the ultimate muffin experience, pour yourself a cup of tea (or maybe a glass of prosecco if you’re feeling fancy) while baking.
Ingredients List with Personal Notes
- 1 cup sourdough starter, unfed (the one that’s been bubbling in your fridge—don’t worry, it’s not a science experiment)
- 1 cup all-purpose flour (or whole wheat for that earthy tone)
- 1/2 cup sugar (I use caster sugar because it dissolves nicely)
- 1/2 teaspoon salt (sea salt, because that’s how my grandma did it)
- 1/2 teaspoon baking soda (to give these muffins a lovely lift)
- 2 tablespoons melted butter (skip this if you’re dairy-free—coconut oil works, trust me)
- 1 large egg (I usually go for free-range because the colour of the yolk just seems happier)
- 1/2 cup buttermilk (or plain yogurt—do you really need to splash out on buttermilk?)
- 1 cup blueblerries (fresh or frozen—use whichever you can get on sale!)
- 1 teaspoon vanilla extract (I’m not a snob; I use Tesco value because it gets the job done)
Step-by-Step Instructions
Step 1: Preheat the Oven and Prepare Your Liners
First, preheat your oven to 350°F (175°C). While that’s heating up, line your muffin tin with those cute little paper liners.
Why this step matters: Getting your oven hot enough is crucial for the muffins to rise perfectly.
Common mistake here: Don’t skip this step. I made that mistake once and nearly had a muffin explosion.
The sensory cue: You’ll know it’s ready when your kitchen starts smelling warm and inviting.
Personal Anecdote: My son always loved plopping the liners into the tin. He’s 8 now, and admittedly, a bit less interested in that; let’s just say the culinary charm has worn off.
Step 2: Mix Your Dry Ingredients
In a large bowl, whisk together your flour, sugar, baking soda, and salt.
Common mistake here: Not whisking enough. You want to ensure those dry ingredients are evenly distributed; an unexpected pocket of baking soda is no picnic when biting into your muffin.
My personal hack: If you find your flour is clumping together, sift it. It’s worth the tiny effort (and helps avoid that ‘muffin stone’ situation).
Step 3: Combine Wet Ingredients
In another bowl, mix your sourdough starter, melted butter, egg, and buttermilk until smooth.
This is where the fun starts. You’ll feel like you’re actually baking something that isn’t just a flat pancake.
Personal insight: You might feel a bit odd using unfed starter, but trust me, it adds a tremendous depth of flavour.
Step 4: Mix Together
Now, add the wet ingredients into the dry ingredients.
The secret nobody tells you: Don’t overmix! You want to fold gently until just combined. A few lumps are perfectly fine! Overmixing leads to tough muffins.
Personal Anecdote: I used to mix like I was training for the Great British Bake Off, but it turns out that was a disaster waiting to happen.
Step 5: Add the Blueberries
Fold in the blueberries with a gentle hand.
Why this matters: We want them to be dispersed throughout rather than squished into a purple goo.
Common mistake: Not washing your blueberries. I can’t tell you why, but last time I didn’t, it tasted… off.
If you’re multi-tasking: Save some blueberries aside to sprinkle on top before baking for those Pinterest-worthy muffin tops!
Step 6: Fill the Muffin Liners
Spoon the batter into the prepared muffin tin, filling each cup about 2/3 full.
This is where my indecisiveness usually strikes. Half the time I think an extra spoonful will lead to a muffin masterpiece, but it just results in “muffin tops” overflowing.
Pro tip: You can use an ice cream scoop for mess-free filling!
Step 7: Bake
Pop those beauties into the oven and bake for about 20-25 minutes or until a toothpick comes out clean.
The sensory cue: You’ll know they’re ready when your kitchen begins smelling like a local bakery, which might just attract the neighbours.
Personal Anecdote: I usually take a moment to enjoy that sweet aroma while chasing away my cat, who suddenly thinks countertops are hers.
Step 8: Cool and Serve
Let them cool for a few minutes in the tin before transferring them to a wire rack to cool completely.
I serve these in a lovely vintage bowl my grandmother passed down. It adds a touch of nostalgia with each muffin, bringing back memories of her own baking adventures.
The perfect side: A smear of butter, of course, but sometimes I eat them with homemade jam, depending on my mood.
Leftovers taste even better: They tend to get more flavourful overnight, so don’t worry about making too much!
Troubleshooting Real Life
- If you burn the bottom: Try cutting off the burnt part—if salvageable, you still have delicious muffins underneath the charred layer!
- If you’re out of blueberries: Diced apples or a mix of dried fruits work wonderfully. Trust me, I’ve been there.
- If you need to pause because of a kid emergency: Cover your batter with a damp cloth and pop it in the fridge; it’ll keep for a few hours without a problem.
- If it’s just not working: Consider the classic backup—order takeout without guilt; we’ve all been there.
When I Make This
I usually whip these up on a lazy Saturday morning while sipping tea and pretending to be a “doing-it-all” hero. My husband often takes the kids out for a bike ride, leaving me to relish this sacred quiet moment. While the muffins bake, I’ll fold the laundry or scroll through some juicy books (because who doesn’t love a good read?).
We have our muffin feast around the actual dining table (full disclosure: it often ends up being a scatter of crumbs across the rug), and sometimes I find myself enhancing the moment with a couple of candles flickering nearby.
The cleanup: about 15 minutes (that’s if I stay focused and don’t drag it out with “one more episode” of my current binge-worthy show), but it’s worth it, mainly because of the happy faces I see during breakfast.
The Conversational Close
This recipe has seen me through the ups and downs of life. Whether I’m celebrating a family achievement or just needing a pick-me-up on a gloomy Tuesday, these moist sourdough blueberry muffins have become a comforting mainstay.
I may not have achieved baking perfection, but I’ve curated a cherished ritual, one that brings joy and tasty delight to my little family. I’d love to hear if you make them—tag me in your photos or just revel in the deliciousness quietly.
What’s your go-to comfort food? Right now, mine’s definitely these muffins. Enjoy the journey—and the mess along the way!

FAQ
Q: Can I freeze these muffins?
A: Absolutely! They freeze really well. Just make sure to let them cool completely before popping them into an airtight container.
Q: What can I substitute for sourdough starter?
A: If you don’t have a starter, you can use plain yogurt or more buttermilk instead, just a touch less to keep the moisture balanced.
Q: How do you store leftover muffins?
A: Keep them in an airtight container at room temperature for up to three days or in the fridge for a week. I recommend warming them slightly before digging in!

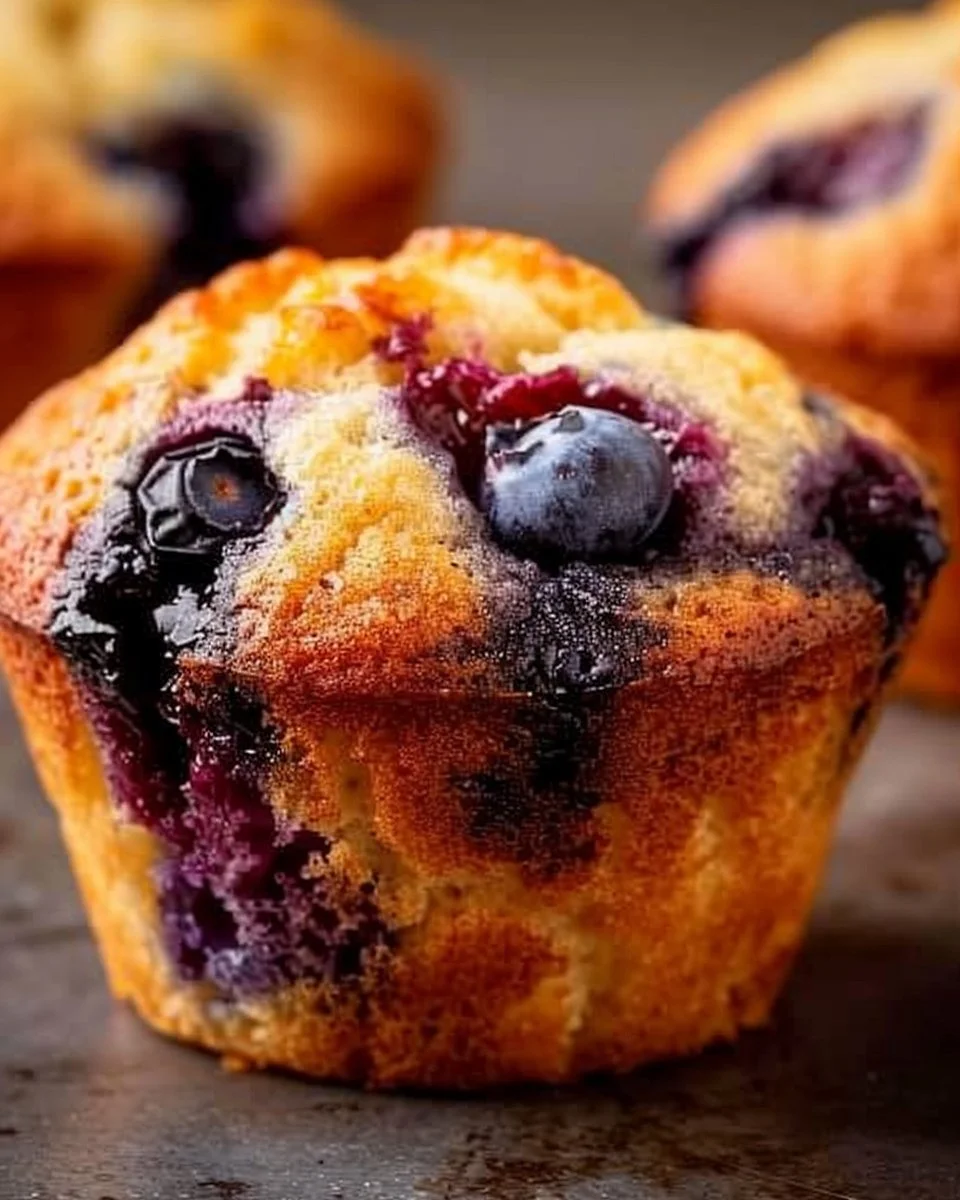
Moist Sourdough Blueberry Muffins
Ingredients
Method
- Preheat your oven to 350°F (175°C) and line your muffin tin with paper liners.
- In a large bowl, whisk together flour, sugar, baking soda, and salt.
- In another bowl, mix sourdough starter, melted butter, egg, and buttermilk until smooth.
- Combine the wet ingredients into the dry ingredients and fold gently until just combined.
- Fold in the blueberries carefully.
- Spoon the batter into the muffin tin, filling each cup about 2/3 full.
- Bake for about 20-25 minutes or until a toothpick comes out clean.
- Let the muffins cool for a few minutes before transferring them to a wire rack.